I’ve used Let’s Encrypt certificates to properly secure my internal services. Previously my setup was a Windows IIS running automatic renewal and sharing all certificate files on a NAS share. This worked really well from a Let’s Encrypt perspective, however since most of my services are not Windows services, the manual pain of converting certificates into the proper formats resulting in expired certificates in several places. Since I use NGINX to proxy some external services, I decided to also implement my Let’s Encrypt process on NGINX.
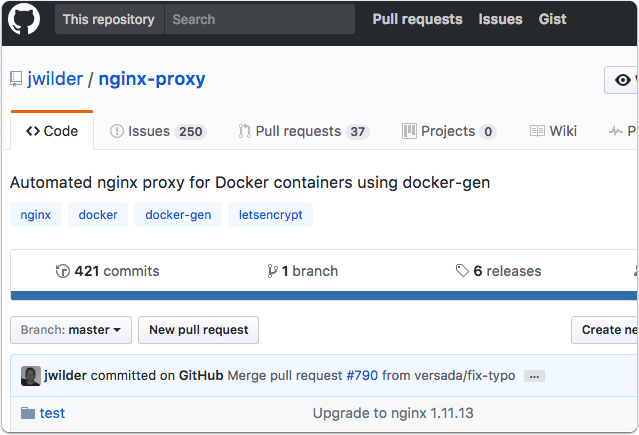
There are several solutions available, however I chose Jason Wilder’s setup https://github.com/jwilder. The base is an nginx-proxy image which can be combined with an autoupdating service Let’s Encrypt as well as dynamic reloading of the configuration.
nginx-proxy sets up a container running nginx and docker-gen. docker-gen generates reverse proxy configs for nginx and reloads nginx when containers are started and stopped.

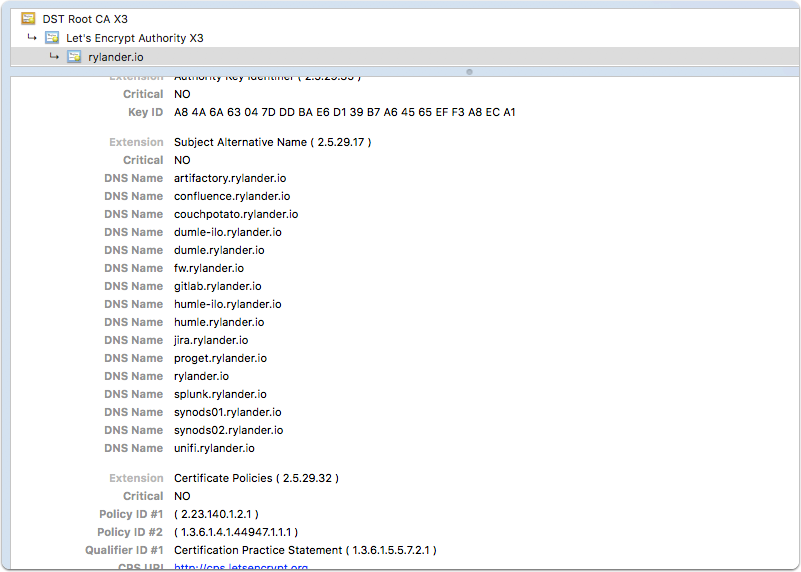
Let’s Encrypt SAN Certificate
Previously I was generating unique certificates for each service, however this time I chose to generate SAN (Subject Alternate Name - Multi Domain) certificates for the sake of laziness. I now get one physical certificate which I use on my internal services. SAN certificates are not supported by older browsers but works really well otherwise.
nginx-proxy
All the heavy lifting has been done for use, we just need to follow the guide and configure it.
https://github.com/jwilder/nginx-proxy
http://jasonwilder.com/blog/2014/03/25/automated-nginx-reverse-proxy-for-docker/
Install Docker-Compose
I chose to use Docker-Compose due to it being easier to keep track of configuration, especially since we are using several interdependant containers.
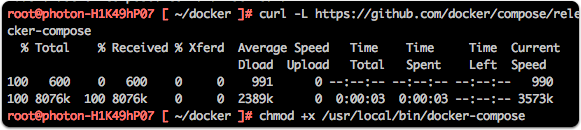
I had to download and install docker-compose on my host, since I was running the micro version of VMWare’s Photon image.
curl -L https://github.com/docker/compose/releases/download/1.12.0/docker-compose-`uname -s`-`uname -m` > /usr/local/bin/docker-compose |
Configure docker-compose.yml
The docker-compose.yml file is versioned in the gist: https://gist.github.com/mry/b0a2d80e151343fd01061f78fc634f49
My current setup ships the logs to a Splunk instance using the HTTP Event Listener and built in Docker logging. This does however bump the docker version requirements to 1.13.0.
The certificate files will be placed in one folder. Make sure to use your foremost hostname first since it will default to use that name.
I have a DNS setting to reference my external DNS (hosted by CloudFlare) since the names maps to internal ip:s inside my network. Whenever I add a new internal host, I must update both the internal DNS and the external DNS. I have a simple port-forward rule in my firewall to allow external access on ports 80 and 443 to this instance. Sometime in the future, I will switch to the DNS based domain verification instead so I can close down this opening.
version: '2' |
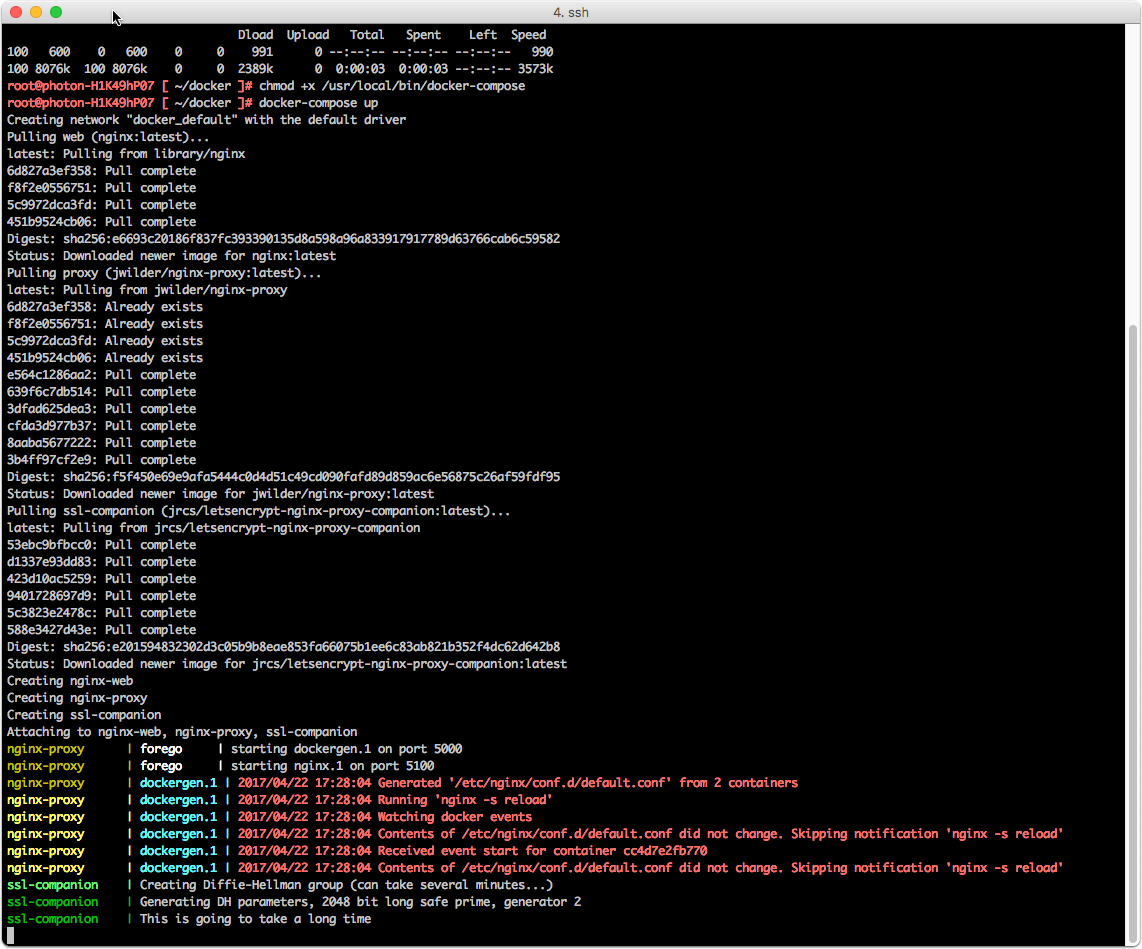
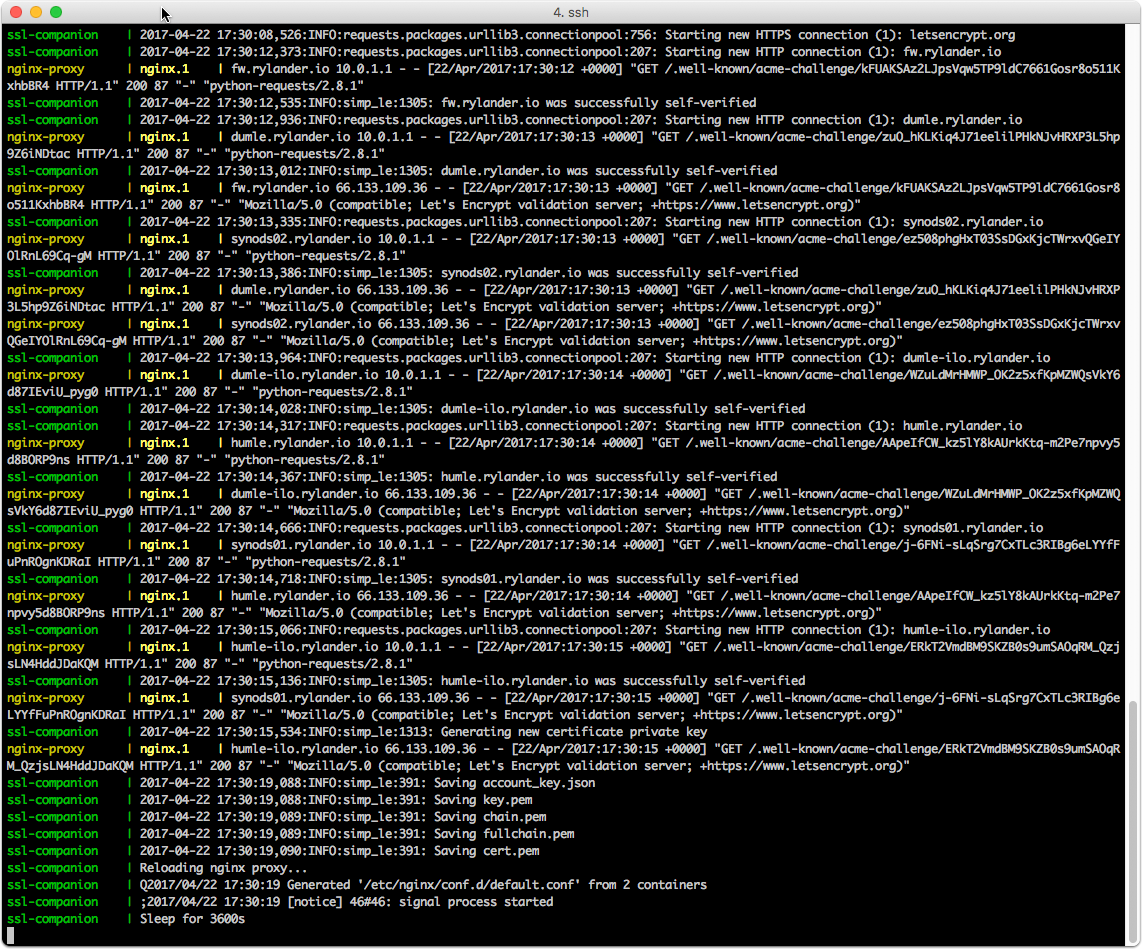
Test run
Test run the docker-compose up command to catch any errors. If all is well just add the -d switch.
Create a service
To have the service behave nicely, you can set it up as a service
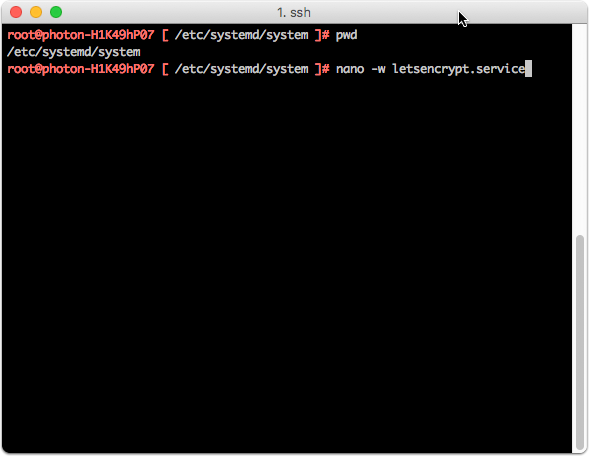
Service configuration
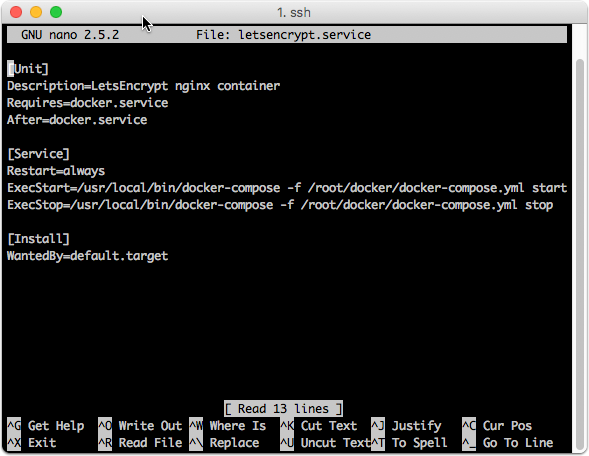
Enable the service
systemctl enable letsencrypt.service |
