Since Chrome has begun to warn against sites not using HTTPS, including self-signed which are prominent in DIY solutions, I’ve turned to use my NAS box to perform reverse proxy functions and to host my SNI based SSL certificate from LetsEncrypt. An SNI certificate has up to 100 alternate names rolled into one certificate, which is almost like a wildcard certificate. I install that certificate on my NAS and then reverse proxy all HTTPS request via the built in nginx proxy to the individual services.
For the Unifi controller however, more tinkering is neccessary and the reverse proxy cannot be setup using the UI. Instead we need to configure the nginx proxy directly.

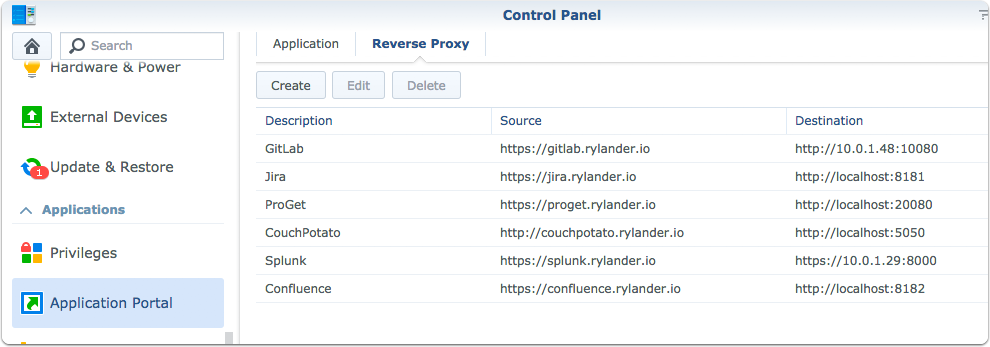
Setup Reverse Proxy via Control Panel/Application Portal
The common way of using the Synology NAS as a reverse proxy. I’ve setup my internal DNS to point to the NAS ip, which then looks at the requested hostname and performs a simple proxy.

WebSocket connection error
The WS and WSS protocols are however not handled out of the box by Synology. The WSS protocol is equivalent with HTTPS, but for websockets.
The errors will show up in the UI and the browser console.

Find a safe place to persist configuration
Log into the NAS and navigate to the proxy settings directory.
cd /usr/local/etc/nginx/sites/sites-enabled |
Synology autogenerates the nginx configuration whenever you change parameters via the UI, so this is a safe place to have changes persist. The main configuration file is directed to load all settings from this directory.

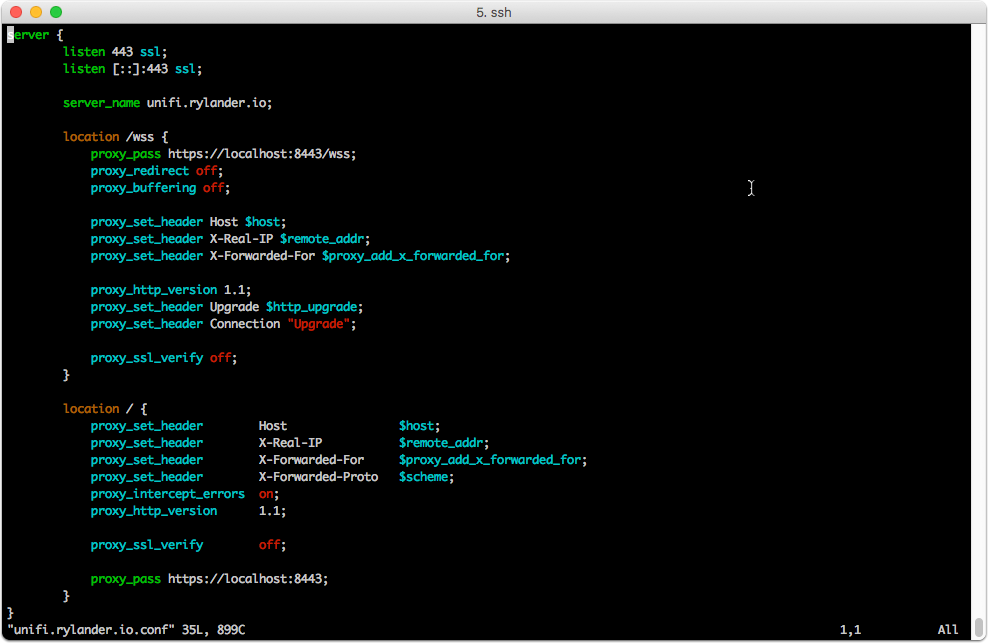
Create config file
sudo vi unifi.rylander.io.conf |
Note the separate configuration to handle WSS
server { |

Restart nginx
sudo synoservicecfg –restart nginx
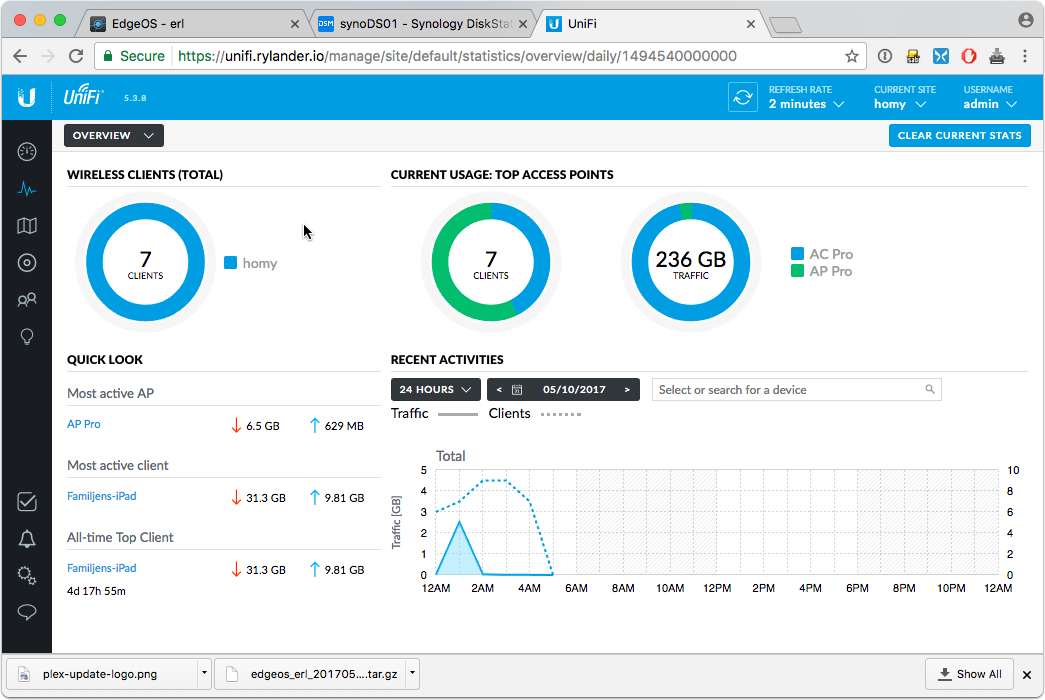
Verify if it works!
