This is a short walkthrough of setting up this Hexo blog instance as an Azure Web App. I do want to use my custom domain so I need to select the Standard plan, which does cost money. The Free instance is not possibly to host using your own domain. I do have a CloudFlare CDN in front of this web, which I will detail in another post.
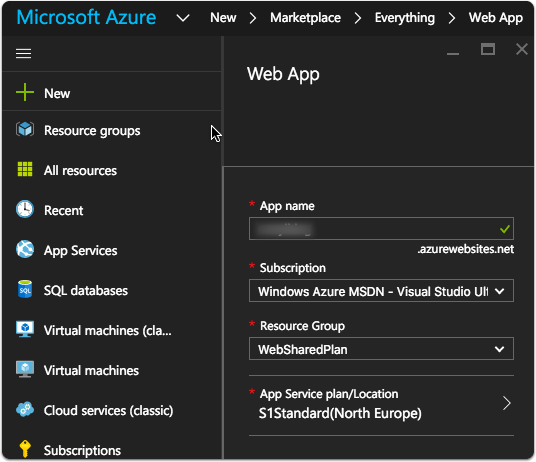
Create a new Web App
I needed to use a Standard plan in order to gain support for Custom Domain names. For some reason I guessed that North Europe actually meant the “northern most” part of Europe, but actually it means Amsterdamish. Typically “West Europe” mean Dublinish, which people in the know say is better.
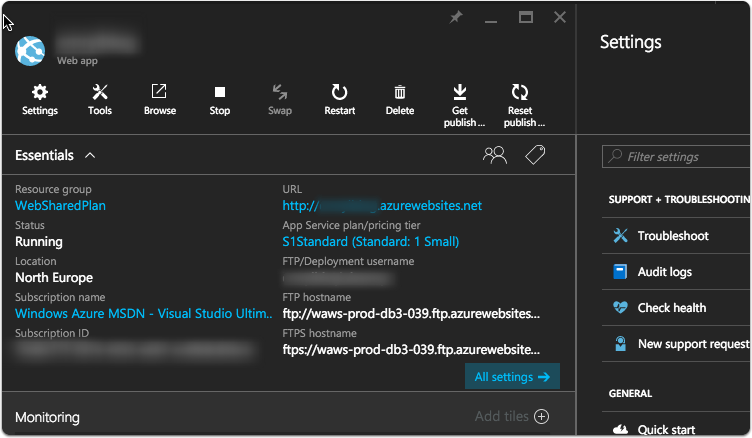
Web App setup on Azure
Setup Continous Deployment from a BitBucket repo
I host the blog content in a private BitBucket repo and to have this Web App deploy directly from that repo, whenever a commit is made. The actual build of the site is triggered using Wercker, which I will detail in yet another post, then pushed to a specific branch in the same repo which triggers a webhook in Azure and the Git-deploy method.
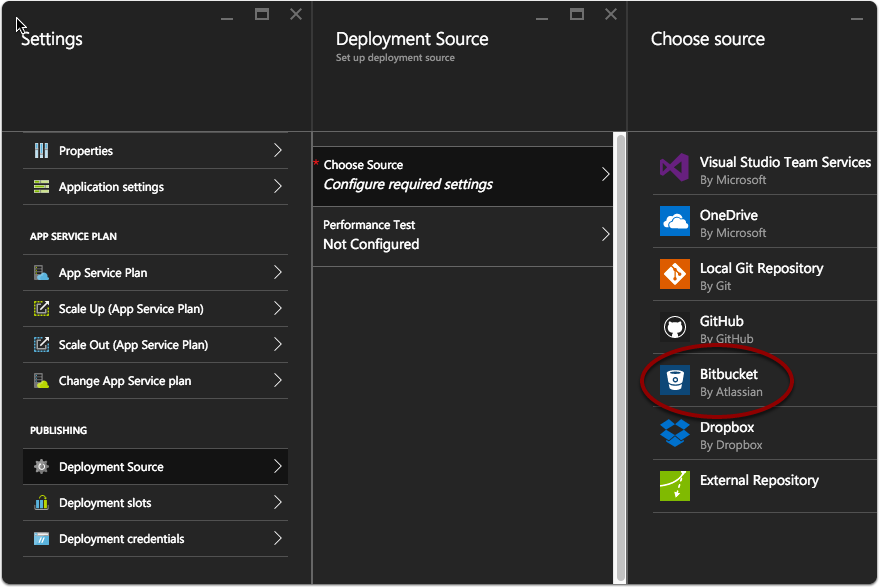
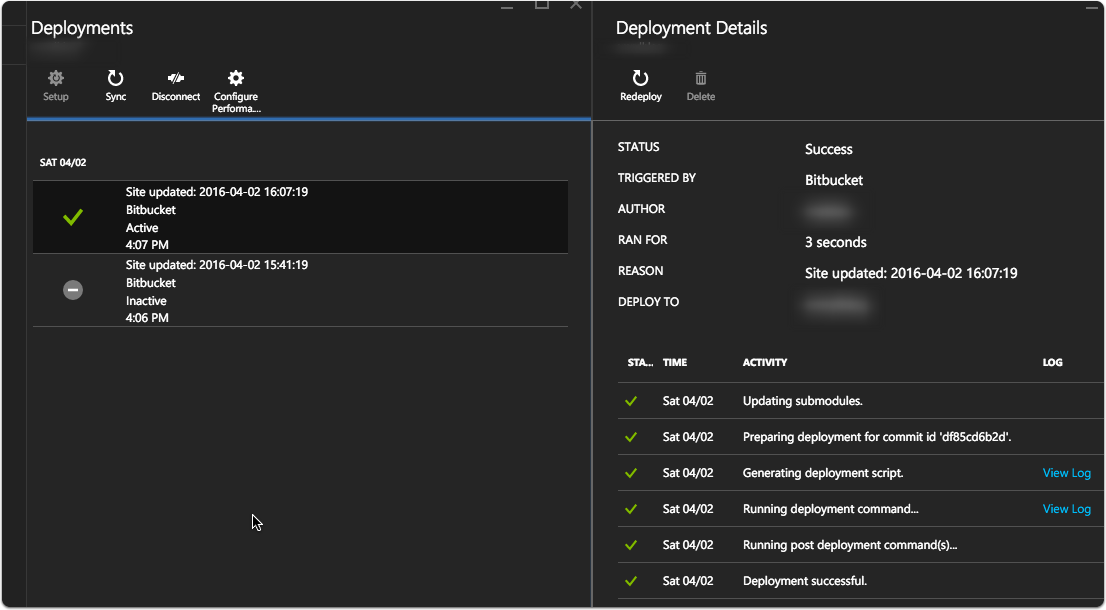
Continous Deployment via git repo
Using the Git-deploy feature of the Web App, whenever I push to the specified branch, a new deploy is performed.
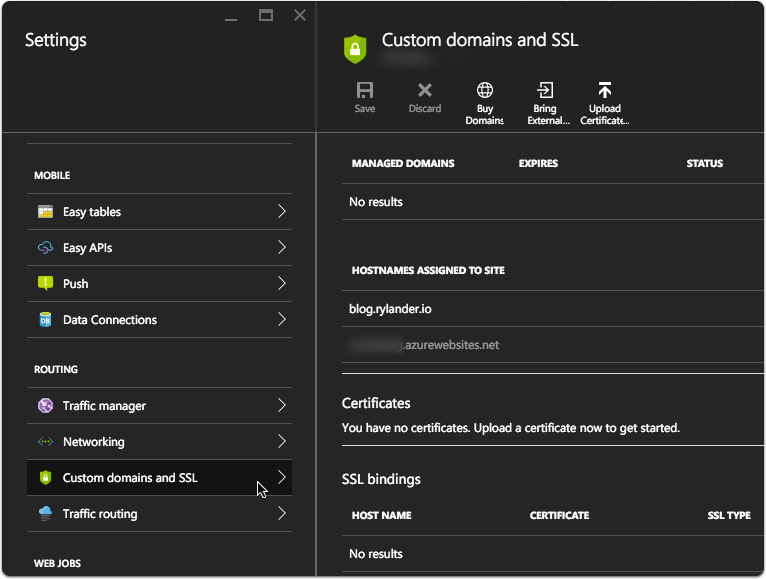
Custom domain
So the upside of choosing the Standard plan among other things is the option of using my own domain name. They do require you to prove you’re in control of the domain by having you either create a DNS record or make a file available on a specific URL. When ownership has been established, entering an additional hostname is easy.