As of version 1.8.5, the settings specifying the certificate is now available via the GUI which makes configuration much easier, including the now automatic restart of the web server.
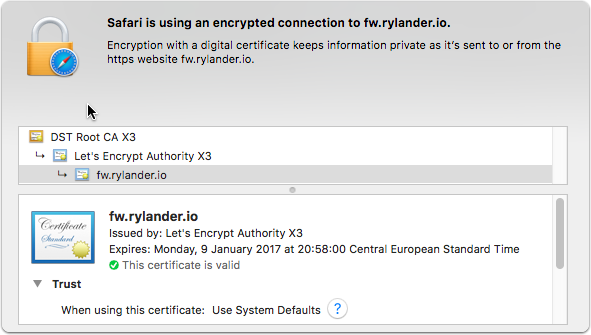
Upload the PEM certificate file via SCP
There are fewer OSX clients still supporting the SCP protocol these days. A good GUI client is Interarchy (https://nolobe.com/interarchy/).
On Windows WinSCP is obvious choice. Sometimes you may need root access and will then need to fallback to putty/terminal and plain SCP.
Upload the PEM file to the
/config/auth/ |
folder as this location survives upgrades.

Set via Config Tree UI
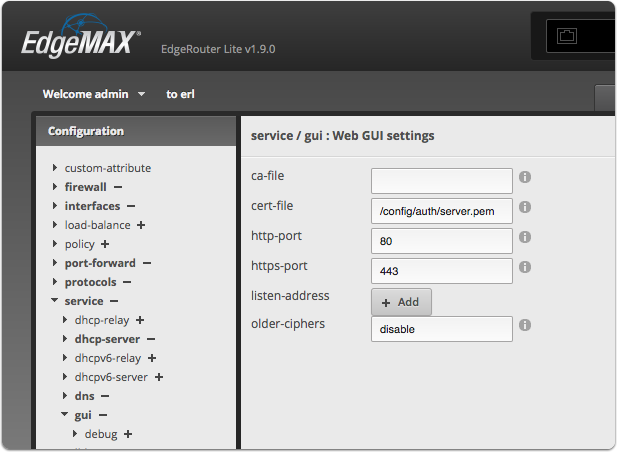
Find and expand the service/gui node in the configuration tree and set the cert-file property to the location where you put the cert file.
/config/auth/server.pem |
A tip is to also disable older-ciphers to further secure your router.
If you use self-signed certificates, you can also provide your own ca file.
Set via CLI
configure |
The web server restarts and the UI is reloaded using the new certificate
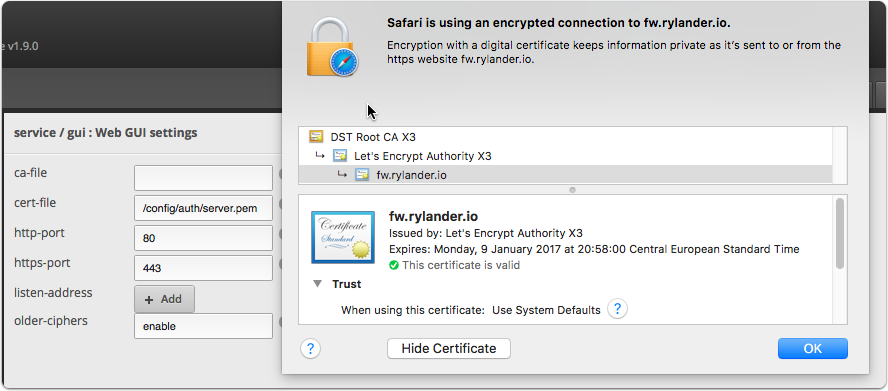
Install LetsEncrypt certficate chain
It seems that the UI (v1.9) breaks when it tries to establish a websocket connection, and the SSL handshake fails. It seems Chrome and Firefox are more sensitive than Safari.
As this issue affects the diagrams and statistics pages, which are quite useful, the easiest way is to install the Intermediate Certificate in a local cert store such as “System”.
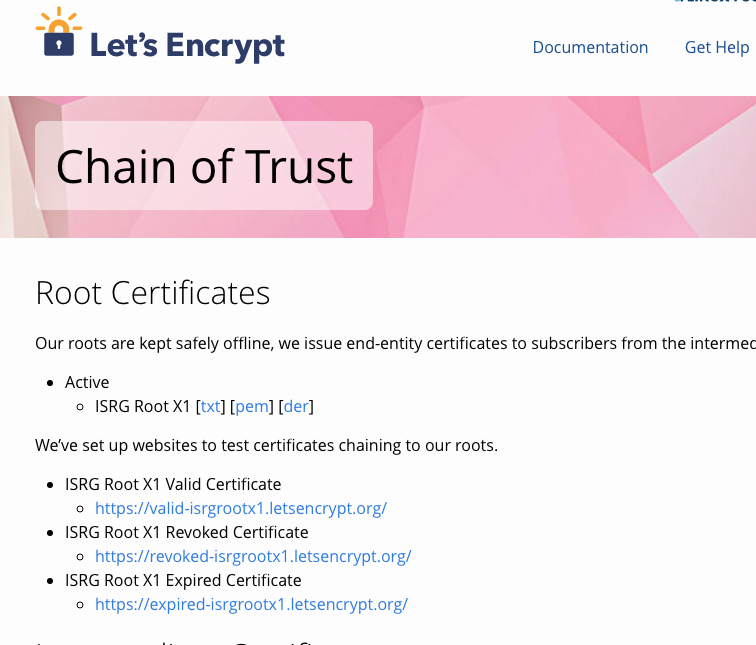
Navigate to the LetsEncrypt info page on it’s Certificate chains and download the certificate(s) you want.
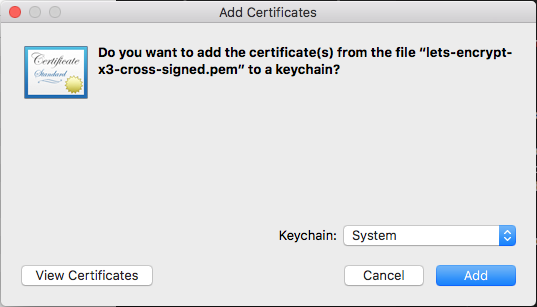
I chose the “Let’s Encrypt Authority X3 (IdenTrust cross-signed)” Intermediate Certificate in PEM format. Double click on the PEM file and the import dialog will open. Chose where to store the certificate in your Keychain.
You may need to restart the browsers.