This howto outlines the process for installing and configuring CrashPlan on a NAS and controlling it remotely from a CrashPlan Client.
The whole process is made easy due to the Synology packaging system however some tinkering is neccessary in order to successfully backup large amount of files and manage CrashPlan remotely. Once it’s setup, it is very easy to backup several TB of data, even from other servers.
I’m totalling around 3TB of data of CrashPlan data.
For a guide to install Crashplan as a Docker container, follow this link.
My backup scenario is the following:
- CrashPlan service is running on a NAS.
- Dropbox - A sync is downloading all my Dropbox content and keeps it instantly synced.
- Pictures & Videos - I use PhotoSync to sync mobile photos to the NAS whenever they are in range of the home WIFI.
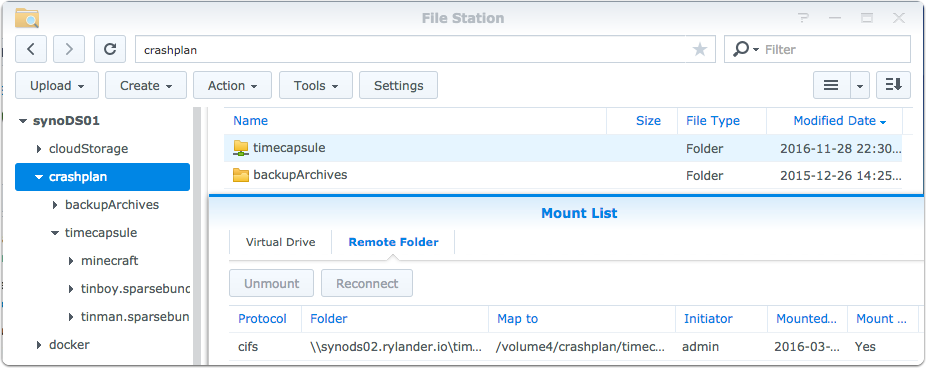
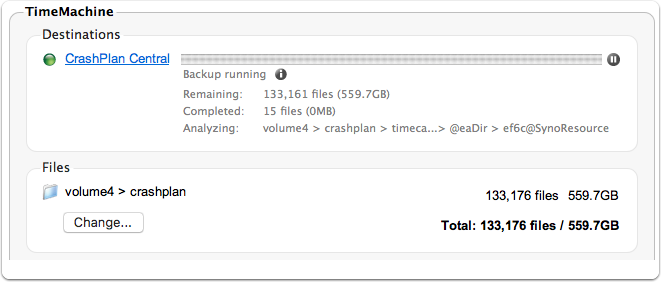
- TimeMachine - I run a TimeMachine service on a separate NAS and mount the folders remotely so they can be backed up by CrashPlan on this NAS.
Configure Package Center
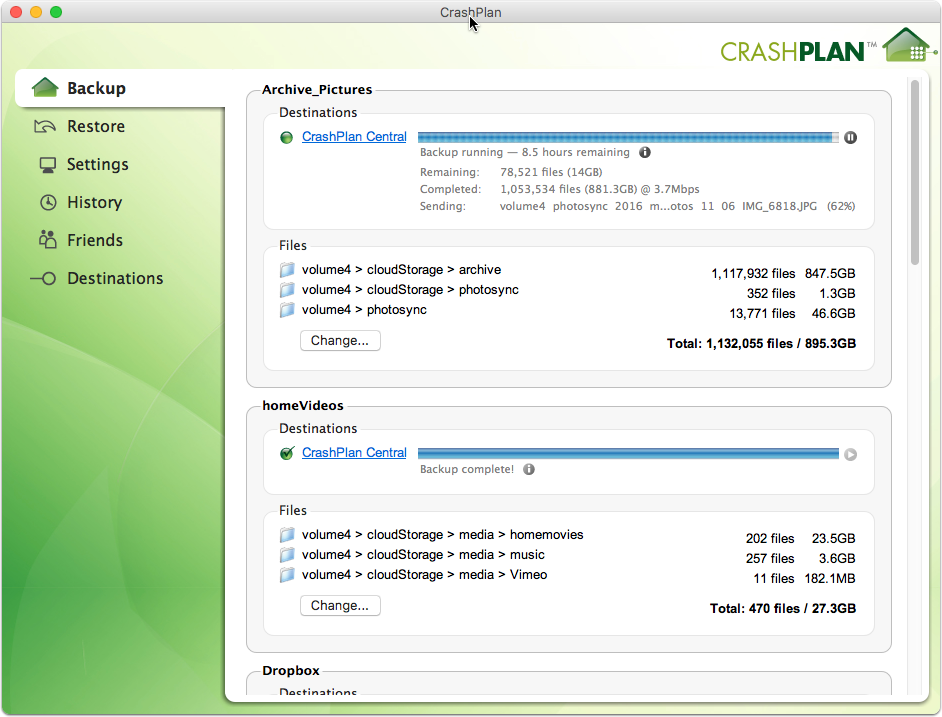
First you need to configure Package Center to show packages from other sources, specifically from PC LoadLetter which hosts the CrashPlan packages.
- In Package Center, click on Settings
- Click on Package Sources
- Add a new entry for PC LoadLetter (http://packages.pcloadletter.co.uk)
You can browse the website to learn more about the available packages.
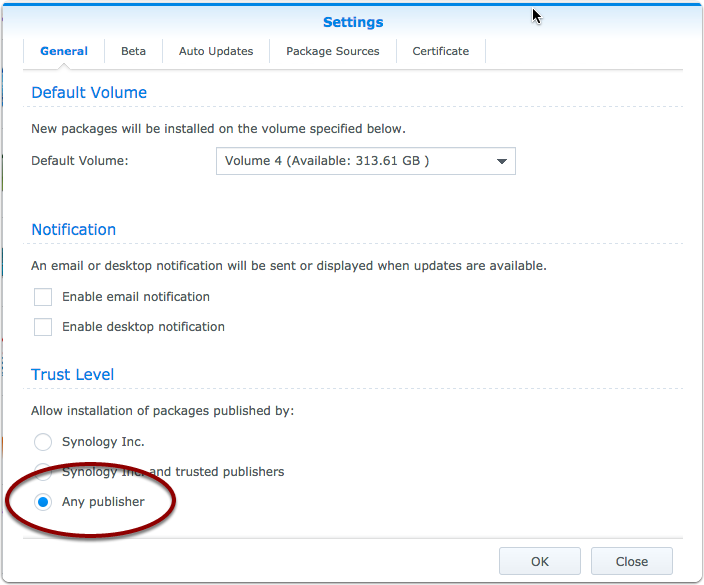
Allow installation of packages from any publisher
You will need to lower your trust level settings in order to be able to install from third parties.
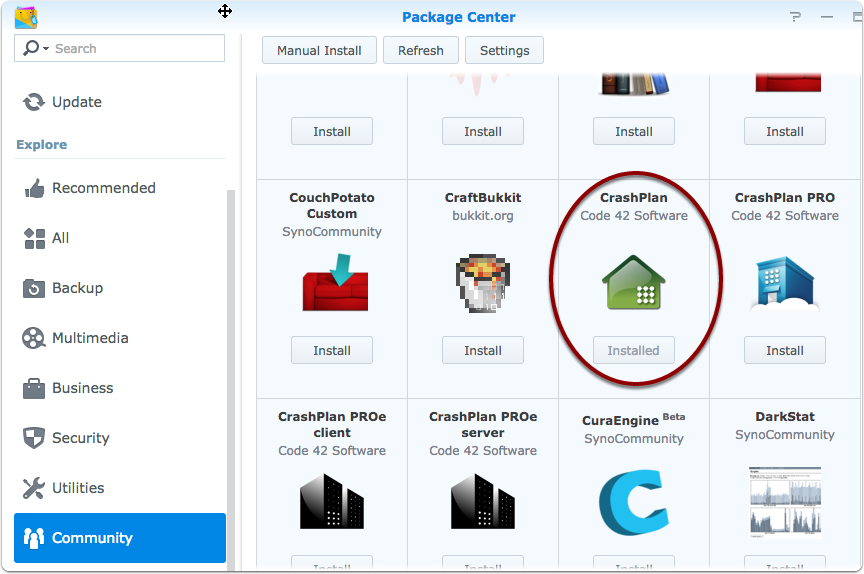
Browse available Community packages
Select the CrashPlan package from the Community listing and click the Install button.
The installation will prompt for which Java package to use, and I recommend using the bundled version.
Set java heap size
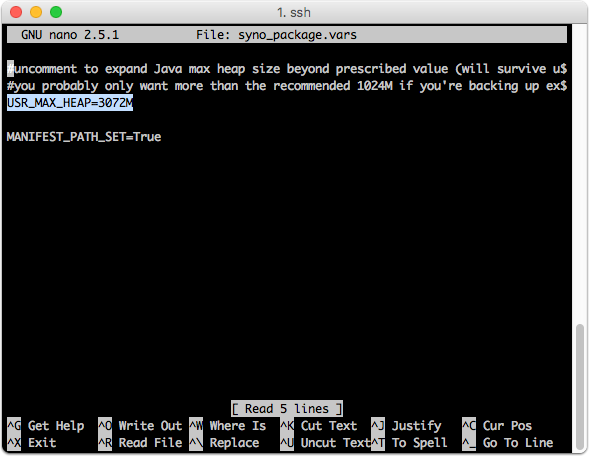
Depending on how many files you need to scan and backup, you made need to increase the Java Max Heap. If the CrashPlan unexpectedly crashes when running, the Heap is most likely the culprit. You usually notice this when CrashPlan notices you of Backup outages.
The configuration file for the Heap setting is located here (where “volume4” is the installation volume):
/volume4/@appstore/CrashPlan/syno_package.vars
After updating the value, you will need to restart the CrashPlan package.
USR_MAX_HEAP=3072M |
Copy server settings to client
Since a few versions back, CrashPlan requires a key to be present at both client and server. In the same file as the key, the server port is defined.
The configuration file is located here on Synology:
cat /var/lib/crashplan/.ui_info |
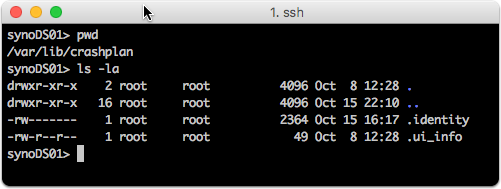
Synology side .ui_info
Copy the Port number and Access token. These will need to be input on each client computer running the CrashPlan client.
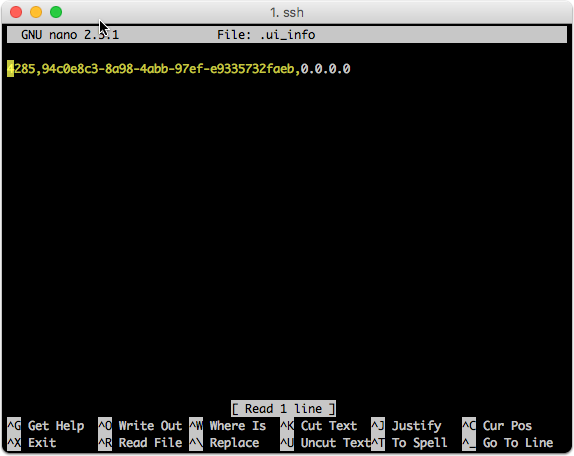
Navigate on the Client to the location of .ui_info
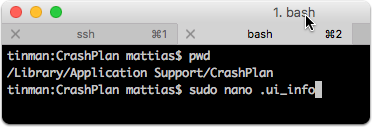
The location on Mac is: /Library/Application Support/CrashPlan/

Open using sudo
cd /Library/Application\ Support/CrashPlan |
Paste in the port number and token
Paste and replace the port number and access token from the Synology

Disable CrashPlanService on OSX
When you install CrashPlan on your local machine, the setup will install both a client and a server. To disable the unused service on OSX, follow these steps.
- See if the service is running:
ps aux | grep CrashPlanService |
- Disable service:
sudo launchctl unload /Library/LaunchDaemons/com.crashplan.engine.plist |
- Verify the service is not running anymore:
ps aux | grep CrashPlanService |
- Delete the launch control plist so the CrashPlanService doesn’t reload the next time OSX is restarted:
sudo rm /Library/LaunchDaemons/com.crashplan.engine.plist |
Backing up mounted remote folders
I have a TimeMachine service running on a second NAS which is used by some of our laptops. In order to include this folder in my CrashPlan backups, I mount the remote folder locally and include it in my CrashPlan schedule.
