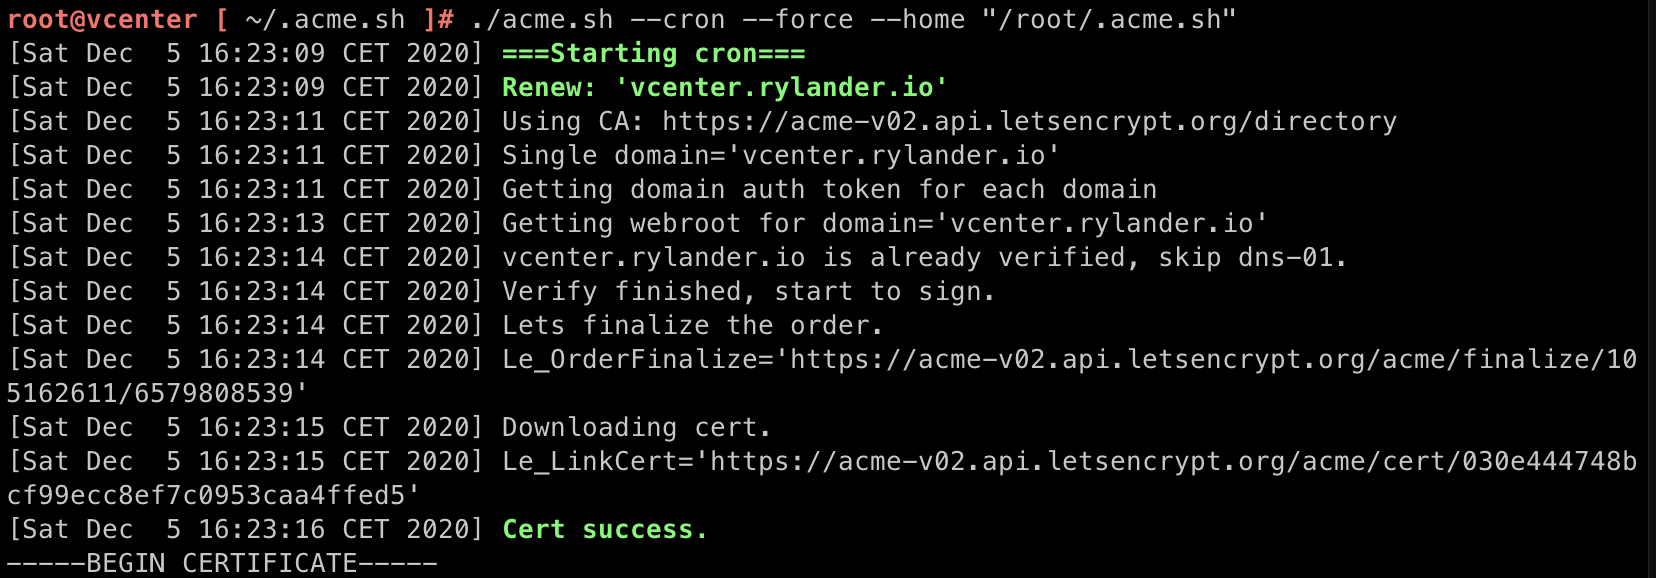
First, install and verify acme.sh on your vCenter installation as outlined here Install Lets Encrypt acme.sh on vCenter 7.
Let’s run through a manual update of the newly created LetsEncrypt certificates generated from the above.
/root/.acme.sh/vcenter.rylander.io/vcenter.rylander.io.cer |
Fire up the Certificate Manager and install the new cert. Log into the vcenter host and drop to the shell. This does require that you have enabled access in the first place, both to SSH and also to enable Shell access.
/usr/lib/vmware-vmca/bin/certificate-manager |
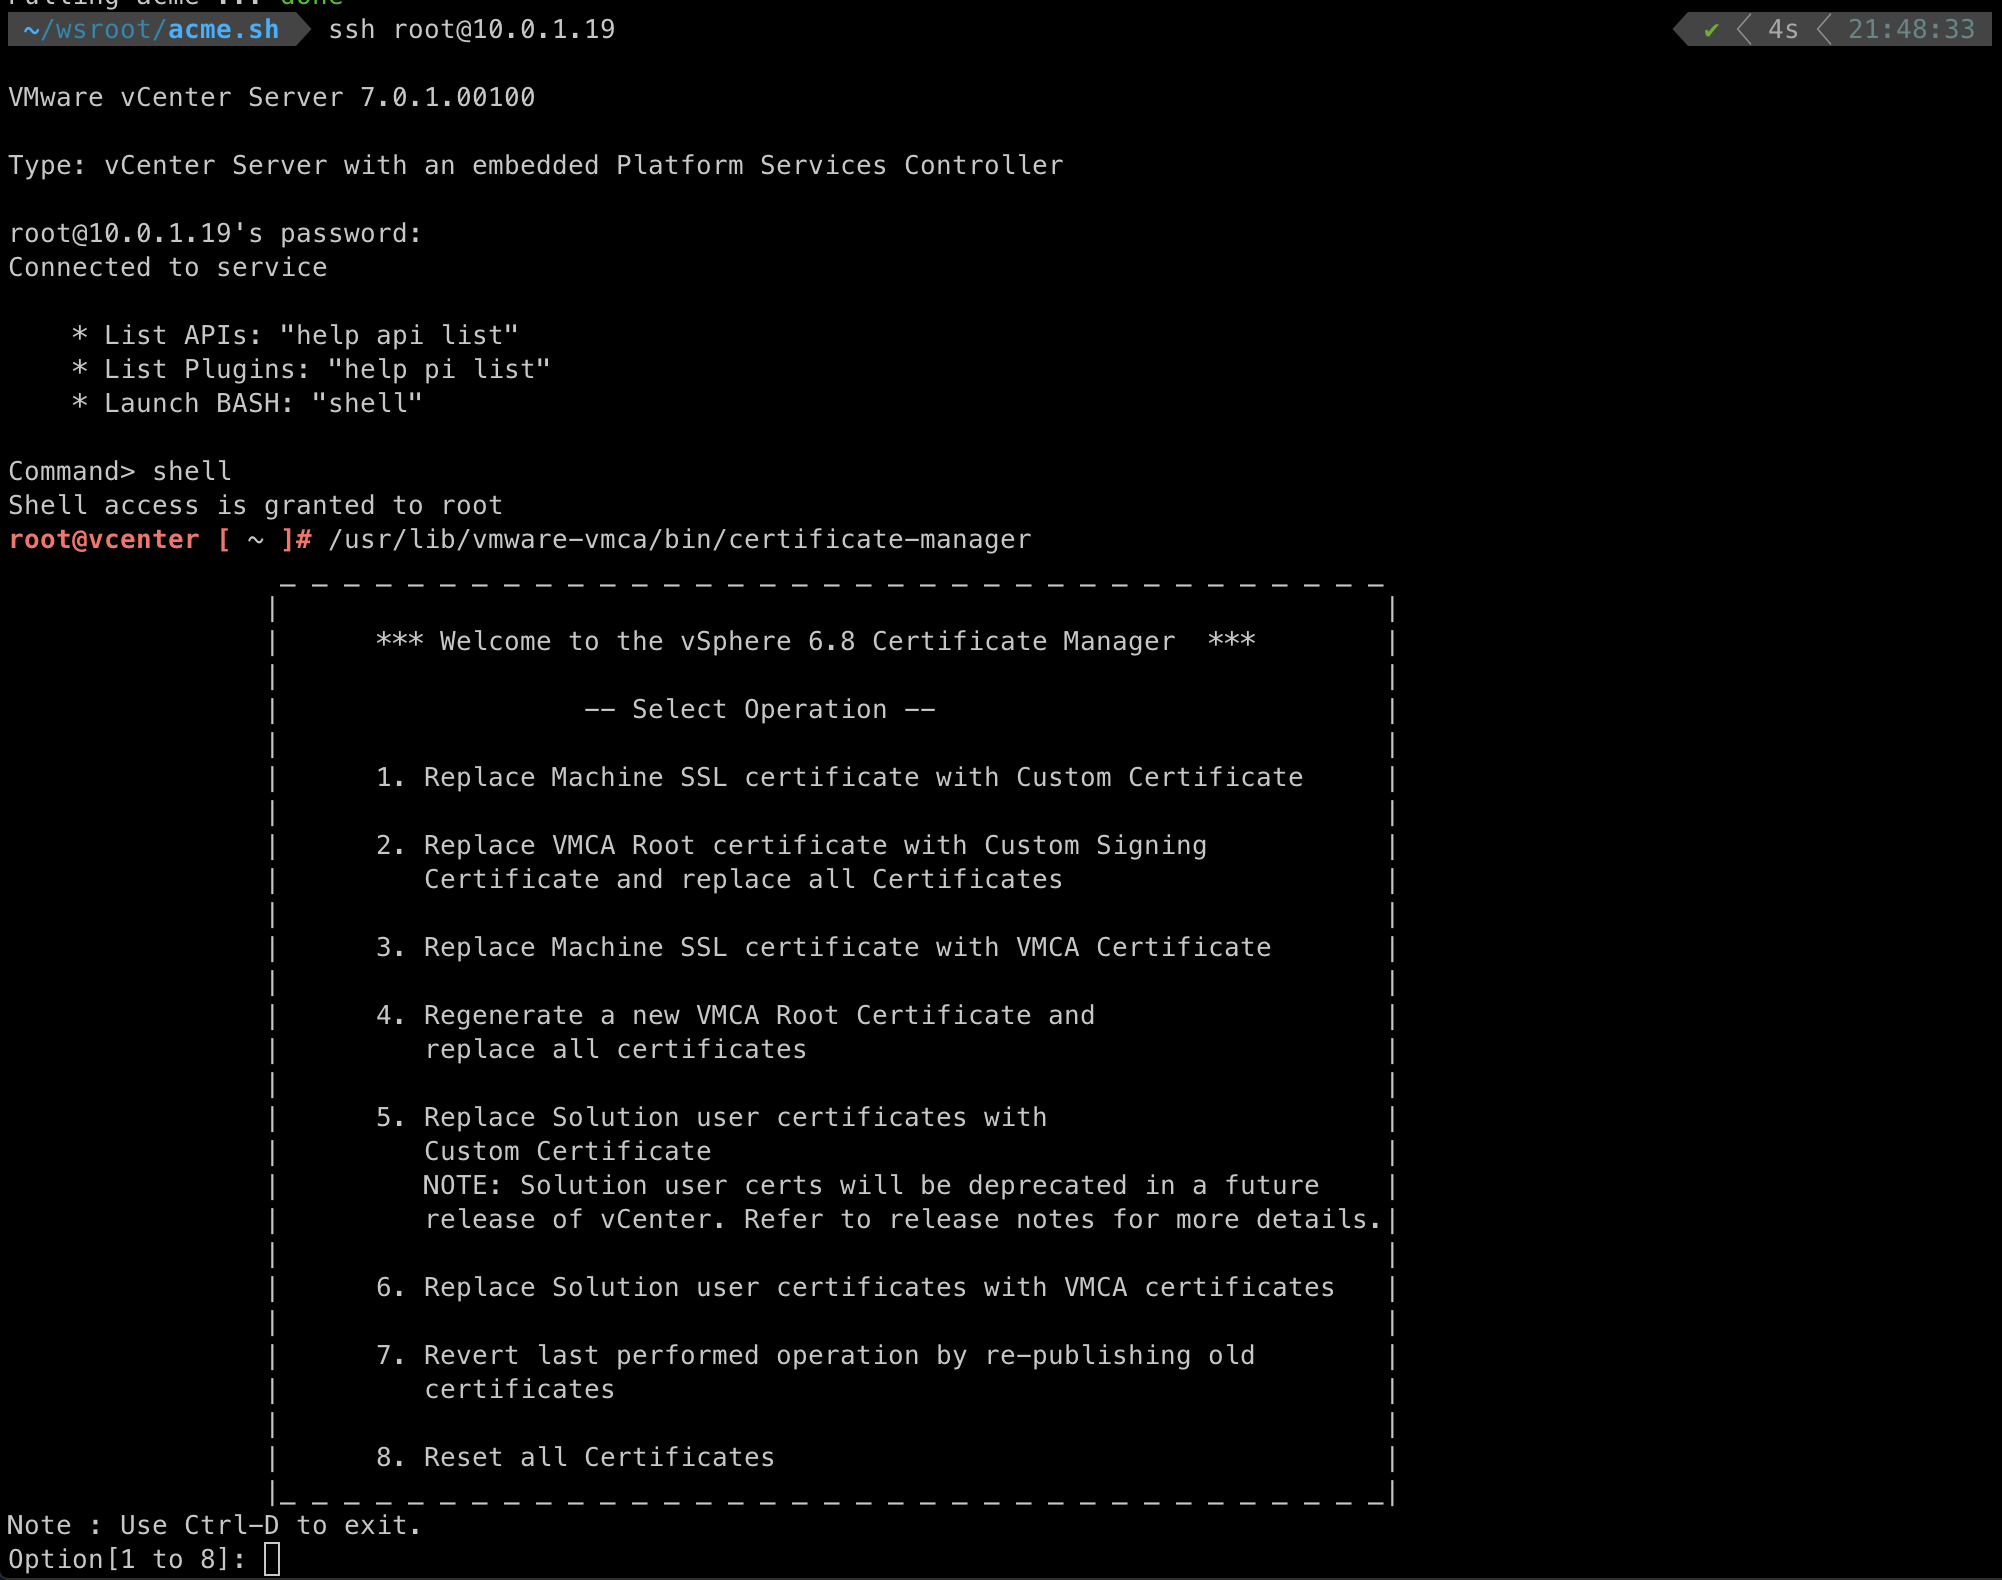
From the main menu, select “1”

And then to “Import”
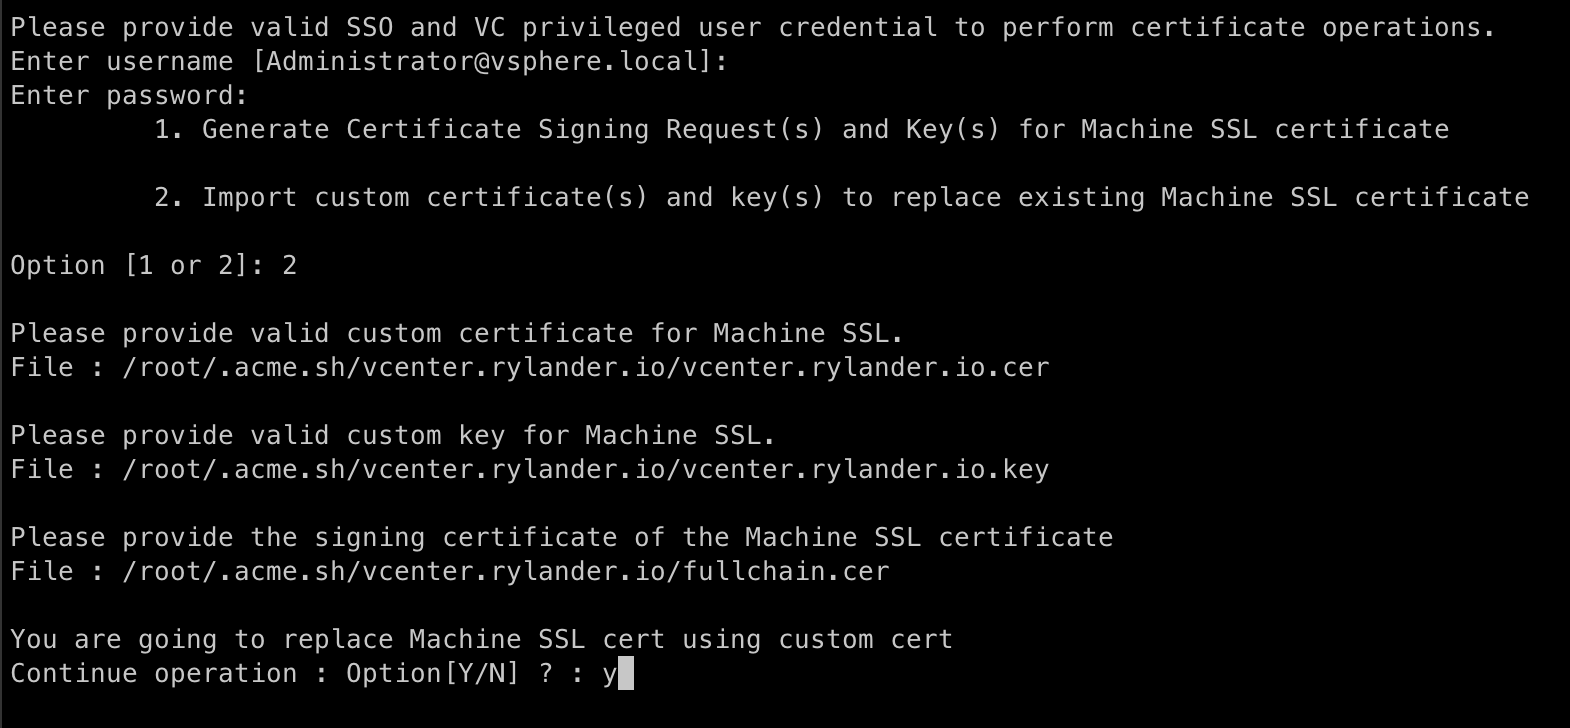
Enter the required file names when asked, first the certificate, then your secret private key and lastly the trust chain.
Confirm you want to proceed.


The update is quite fast however restarting the services does take some time.
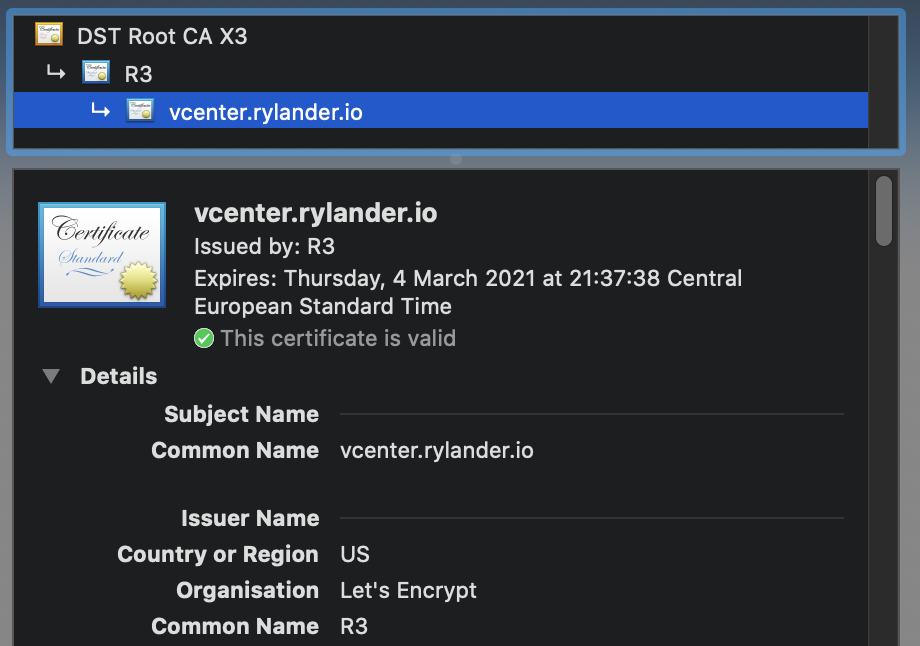
Check a working certificate is provided to your browser.
Lets automate this
Now, we’ll just copy the menu steps we just went through and automate the answers in a script.
wget 'https://raw.githubusercontent.com/emryl/vcenter-letsencrypt-auto-updater/main/auto-updater.sh' -O auto-updater.sh |
You can hardcode the options inside the script or use a configuration file (update.conf). Either download it as above or create it by hand.
cat > update.conf |
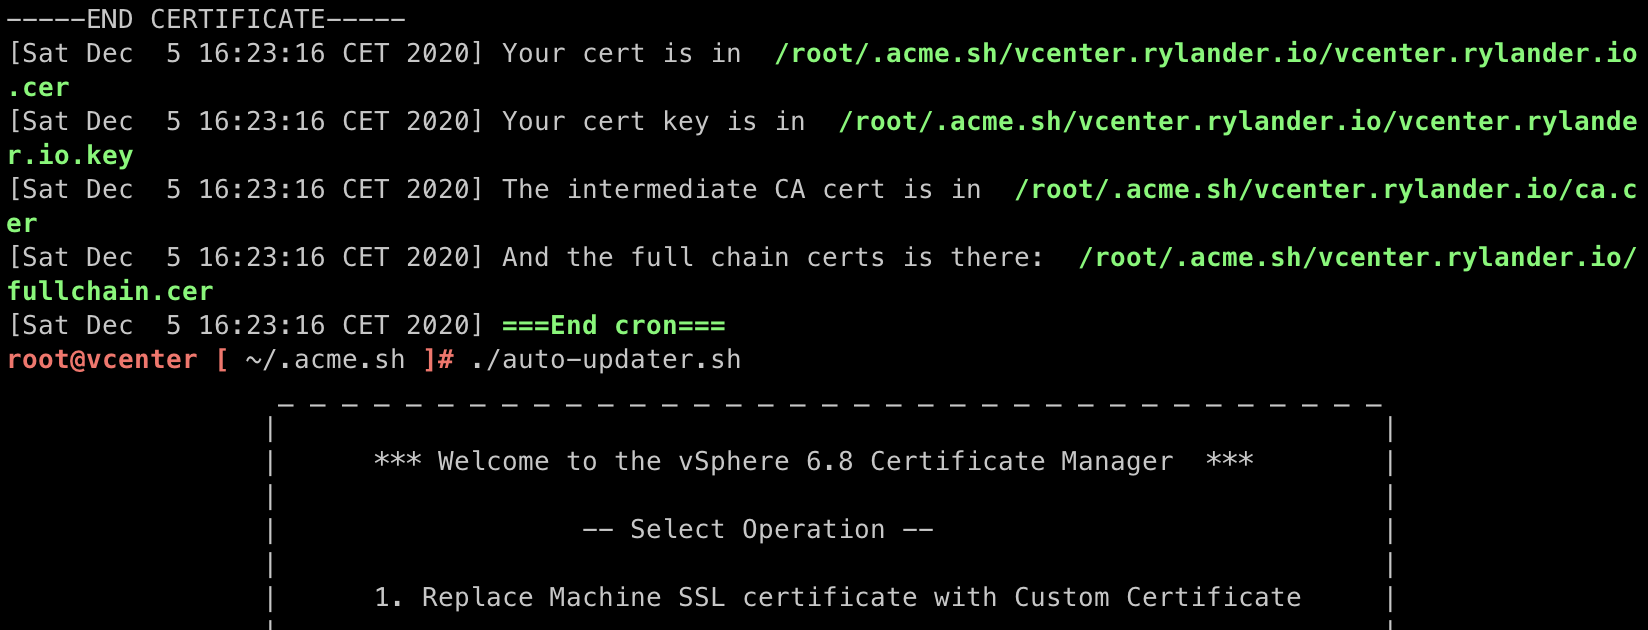
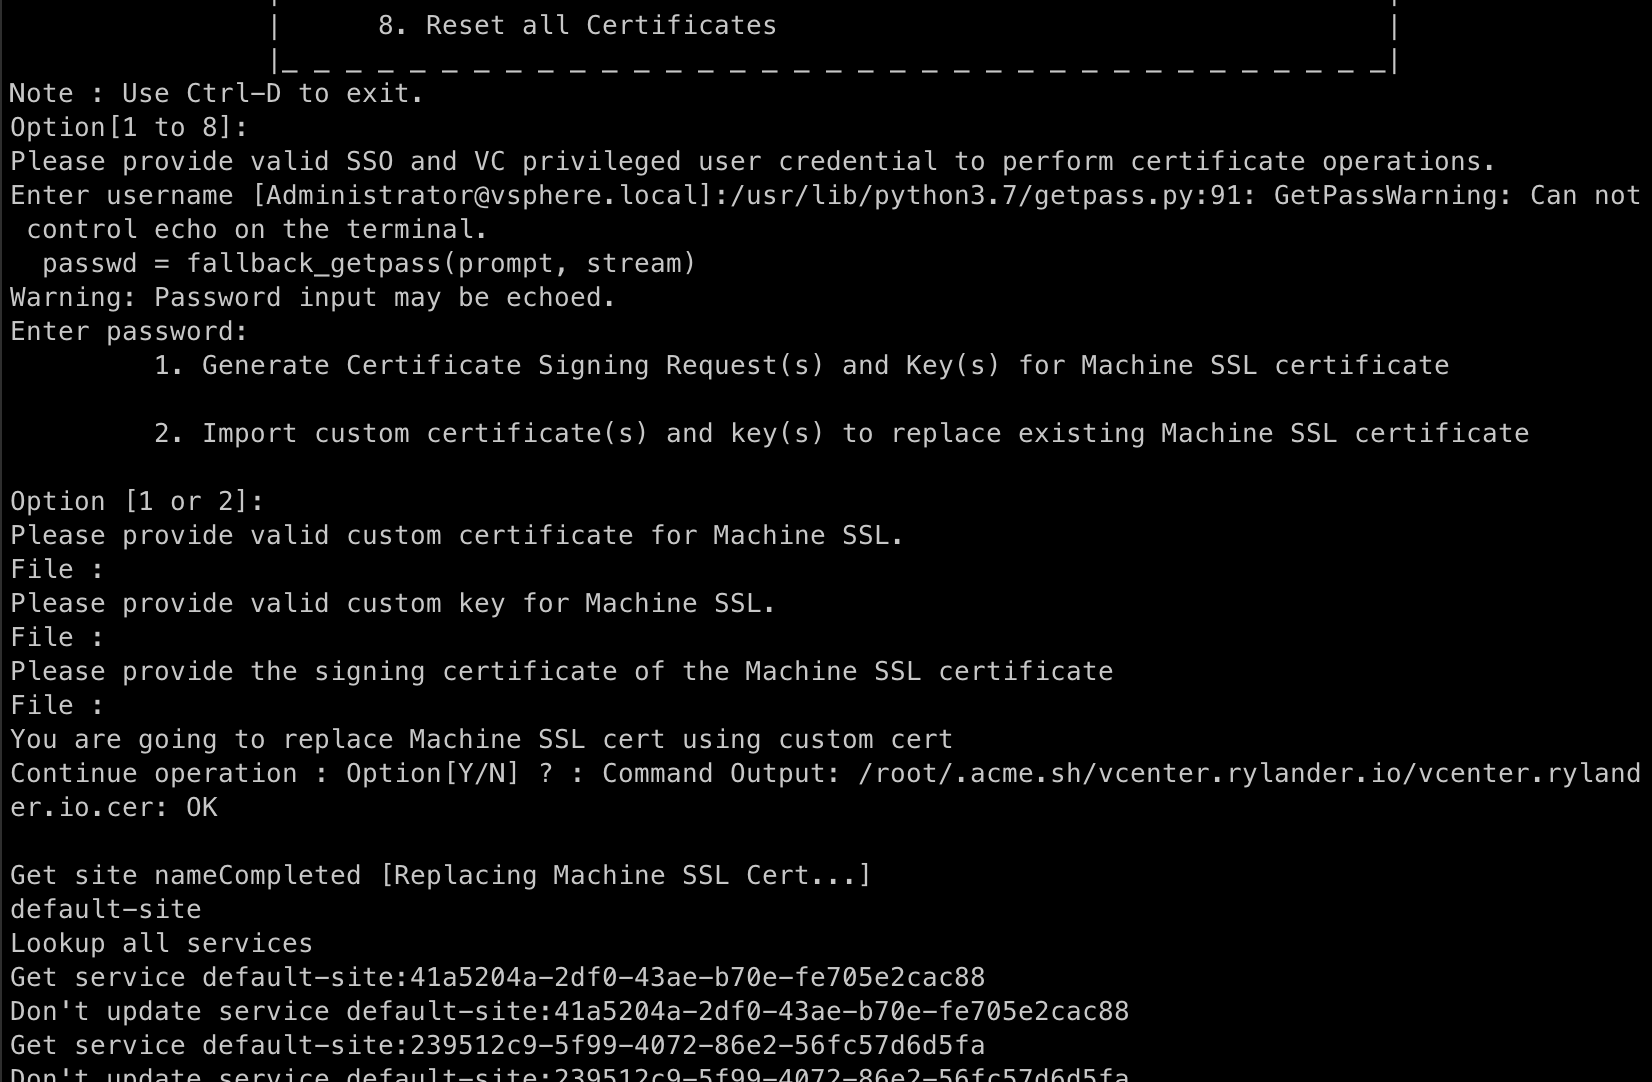
Set the configuration and then run the script and make sure there are no errors. You need to have new and valid certificate files in place first.
./auto-updater.sh |

Schedule it
Create a crontab schedule (edit using ‘e’)
Every sunday, at 05.15 and 05.30
crontab -l |
Useful during testing, you can add the —force flag, the script will renew every run. Just be careful to not exceed the limits. It may be wise to use the test URLs instead.

Test using cli before running it scheduled
./acme.sh --cron --force --home "/root/.acme.sh" |
