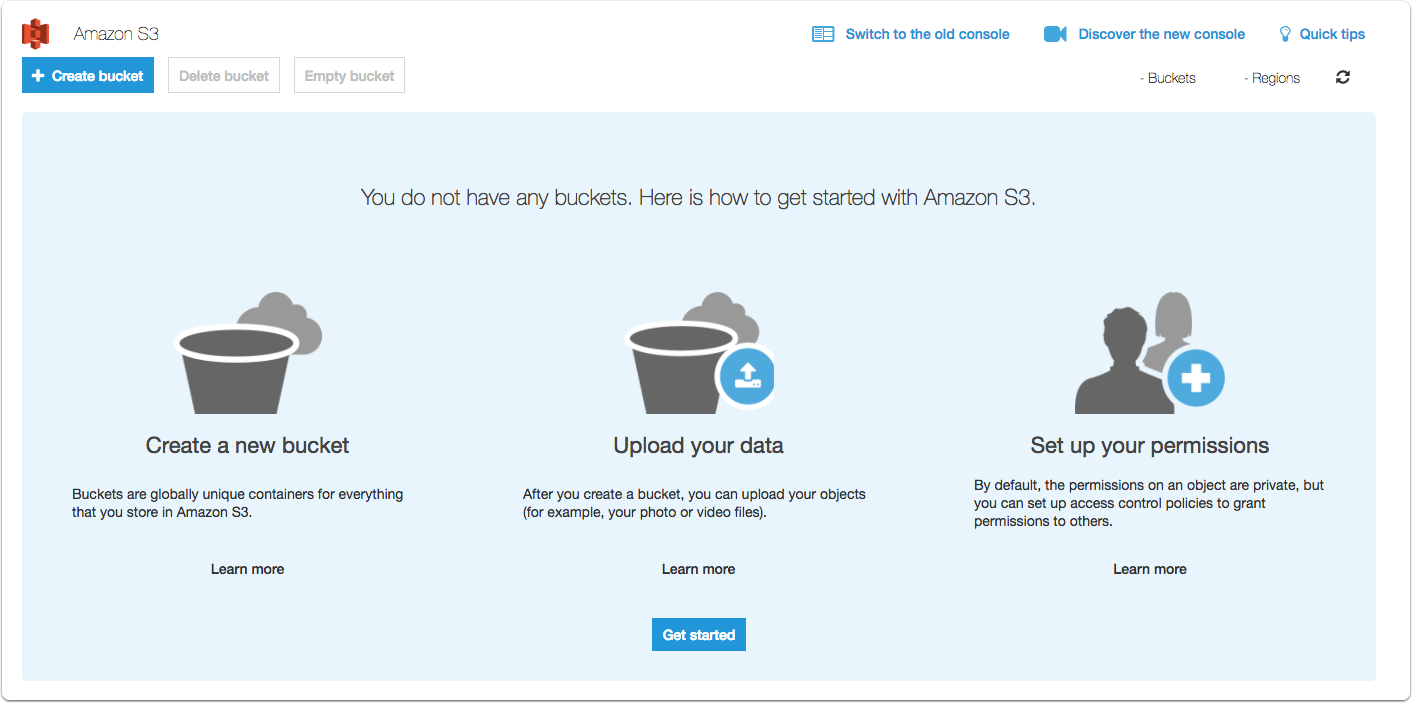
Create an S3 bucket
https://console.aws.amazon.com/s3/home?region=eu-central-1
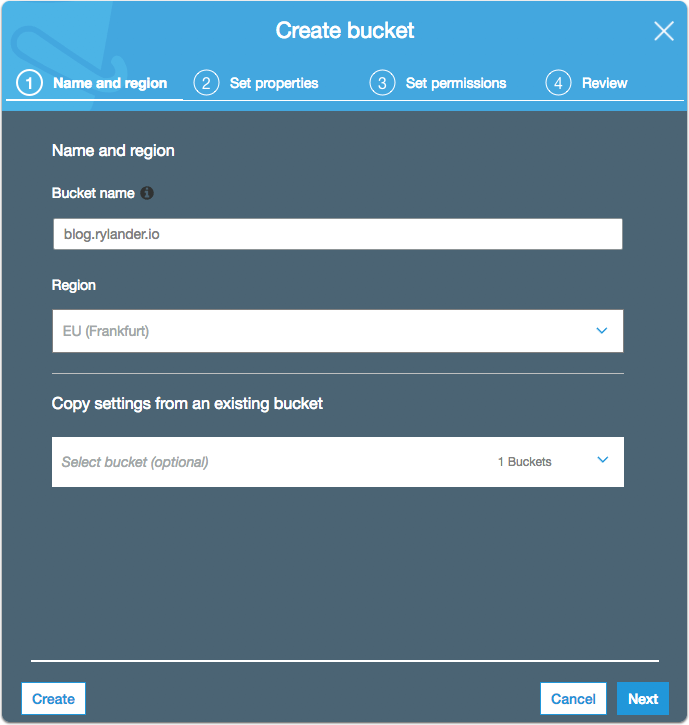
Naming
Naming is very important. Partly because it will form the direct public url but also if you use some external CDN or reverse proxy. The AWS routing needs the bucket name to reflect the custom DNS in that case and the bucket name is used in numerous places.
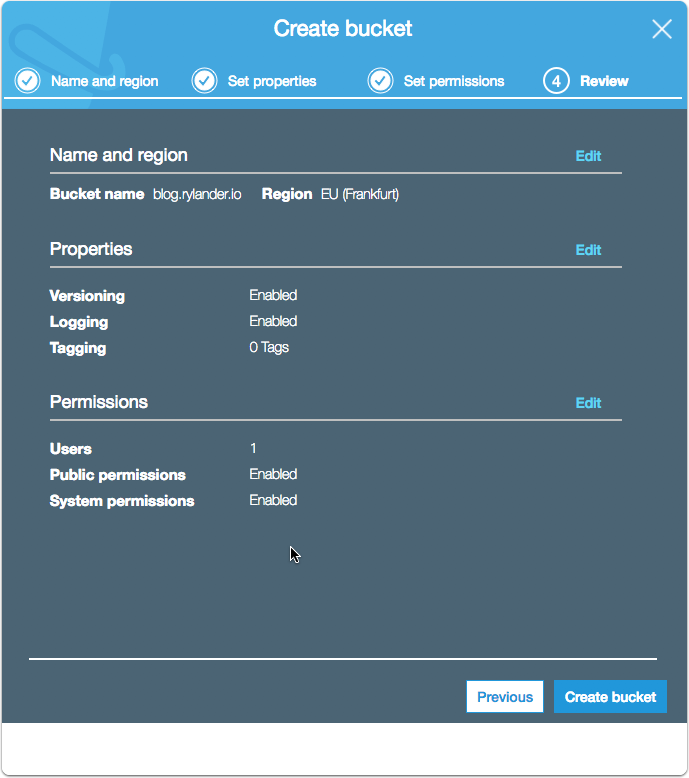
Enable versioning
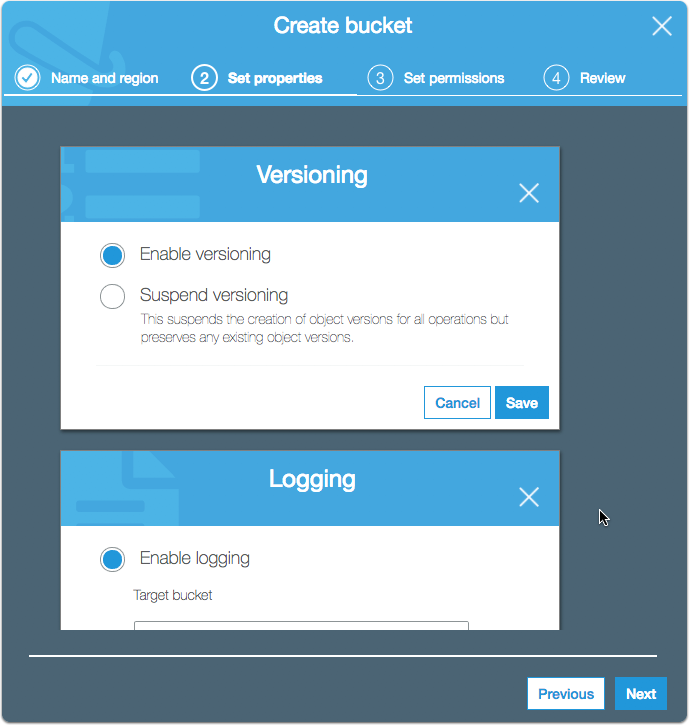
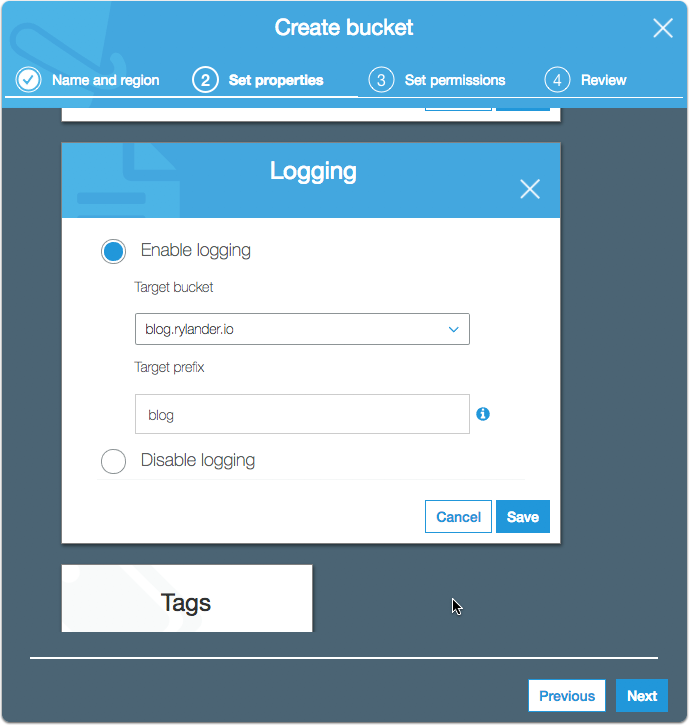
Enable logging
Permissions

Review and create
Endpoint
Note the endpoint address as this is used for direct access but also if you put a CDN or reverse proxy in front of you website. The AWS routing requires the bucket name is equal to your custom DNS name (in my case blog.rylander.io).
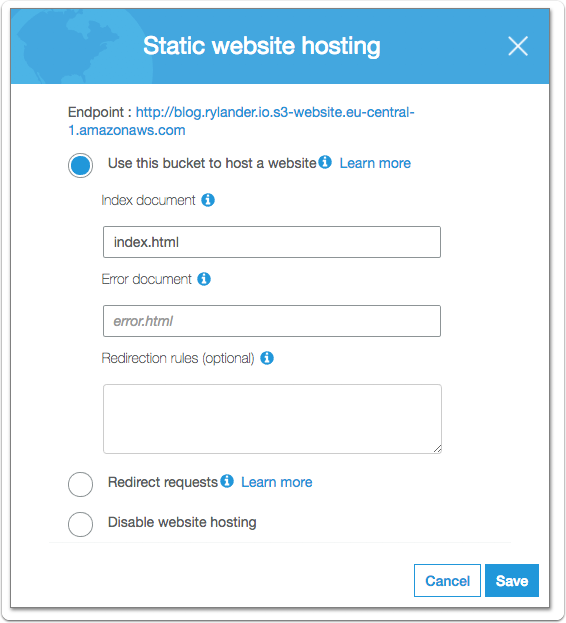
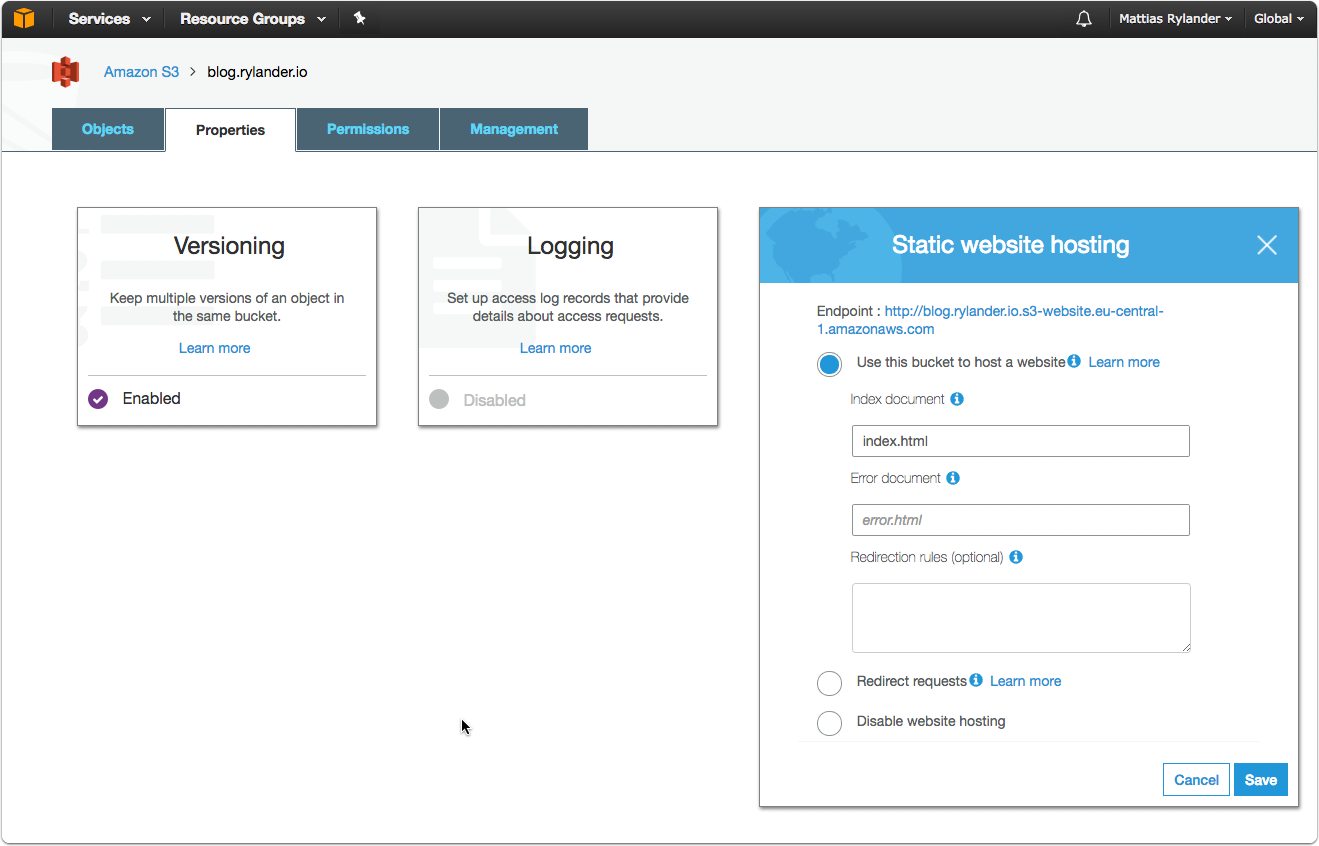
Enable static website hosting
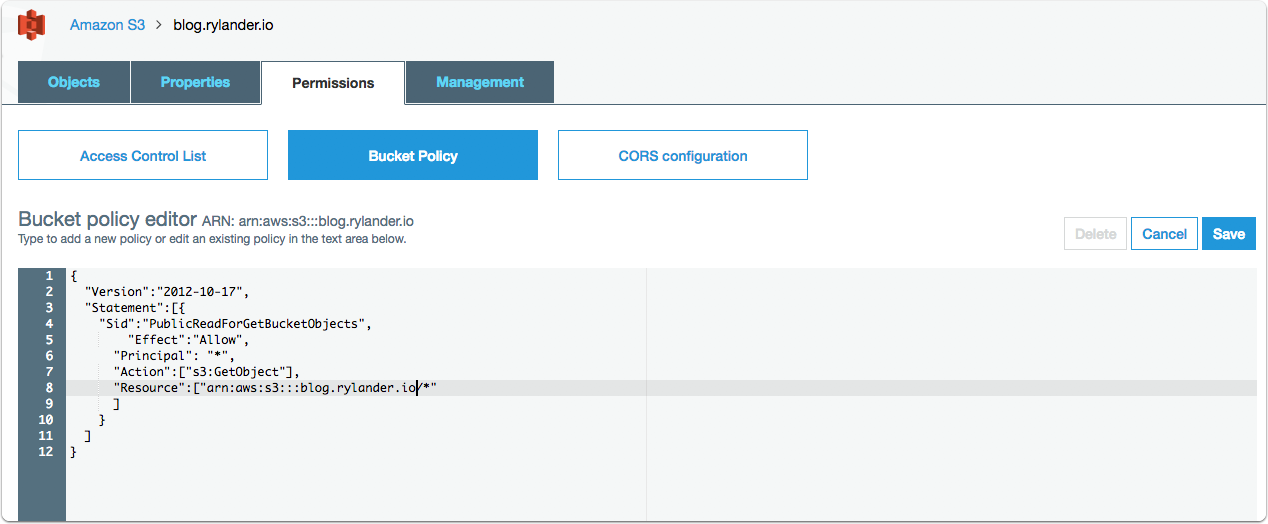
Specify Bucket Policy
In order to serve folder content correctly, you must add a bucket policy to handle defaults for folder urls. Otherwise AWS S3 will just serve an XML listing.
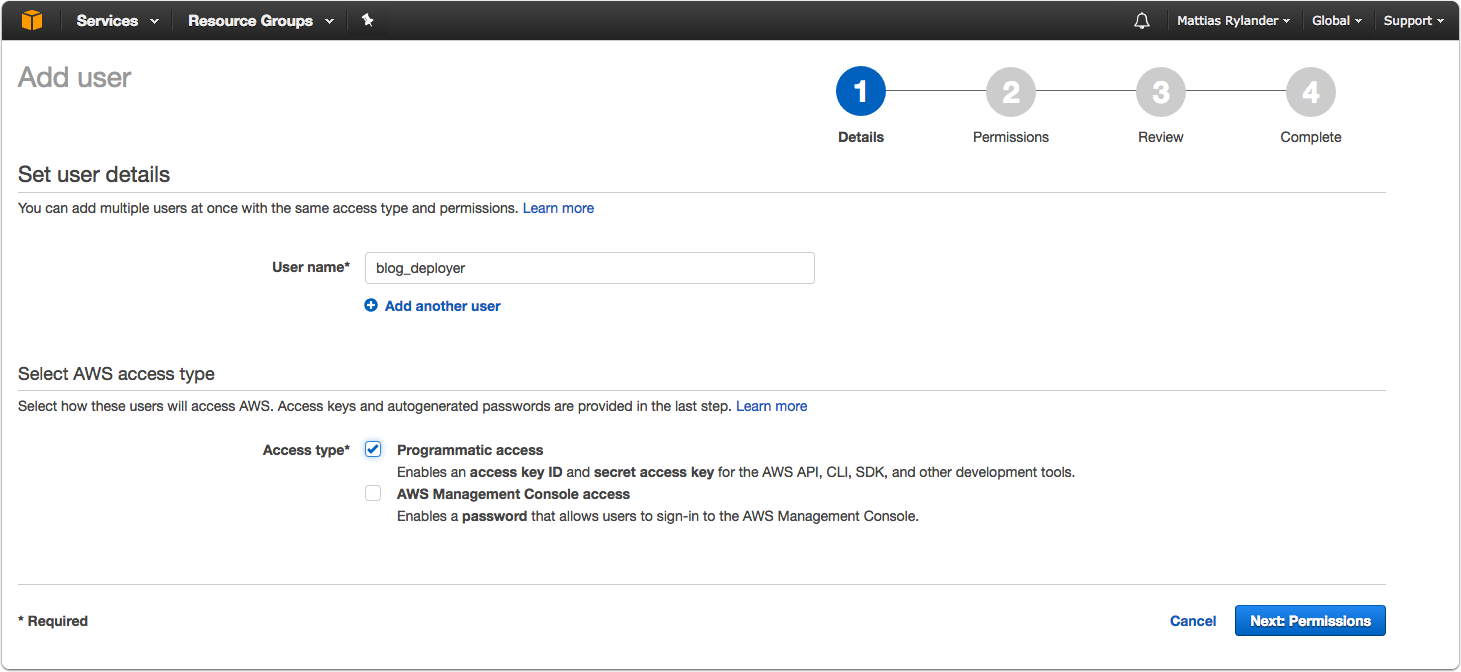
Create and Add an IAM user for deployment
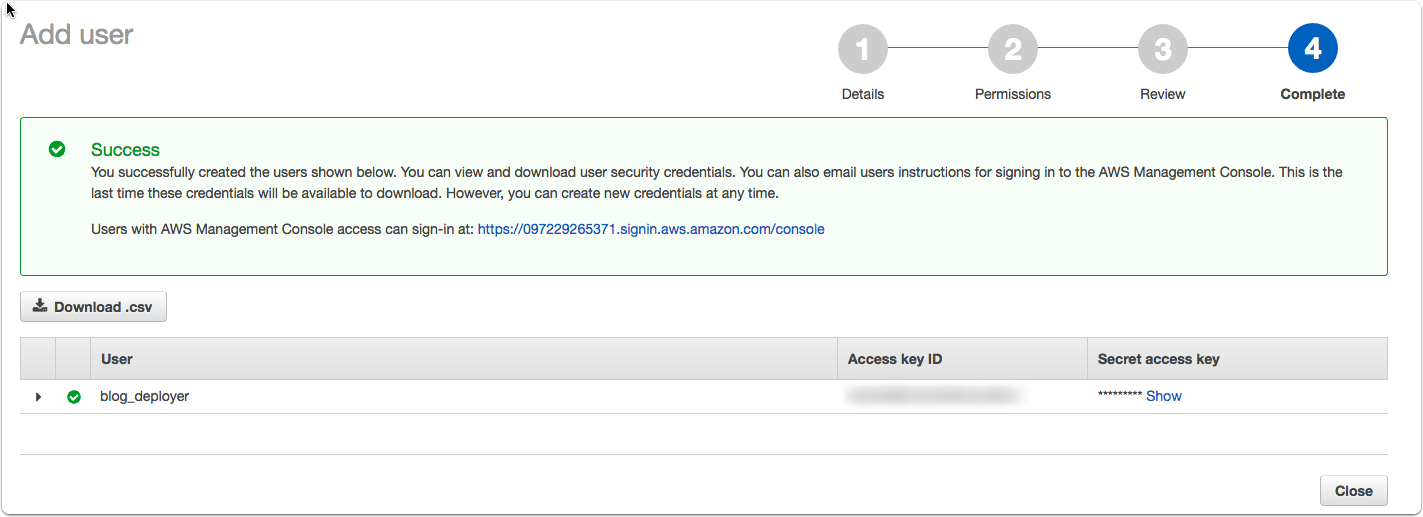
Once an empty bucket is created, we’ll also need an IAM user with appropriate permissions to upload the blog pieces. Creating an IAM user is simple; be sure to create an access key when you do (or go back into the IAM display, hit the Security Credentials tab, and click Create access key).
The Access Key and the Secret Key will be stored on your local computer in a configuration file for the AWS SDK for javascript as detailed later.
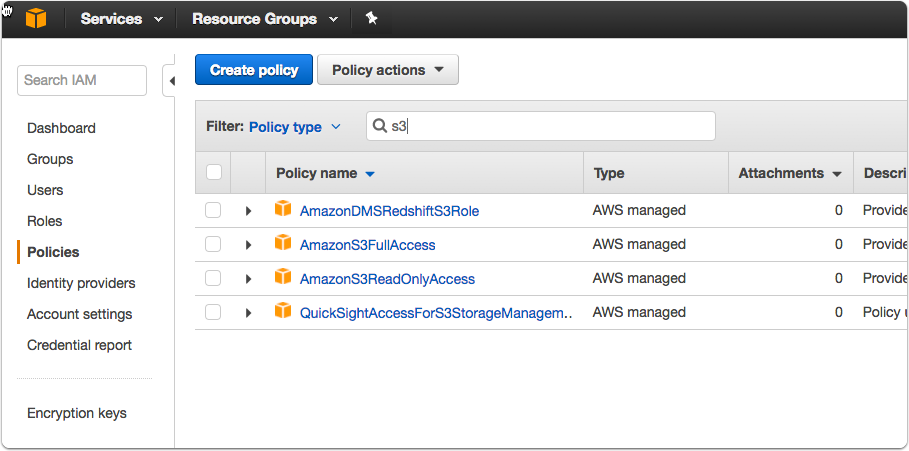
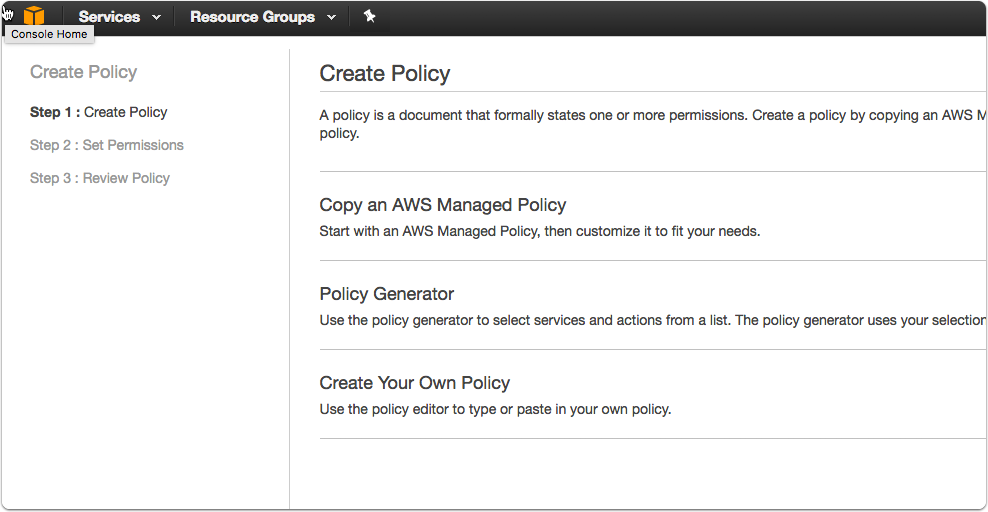
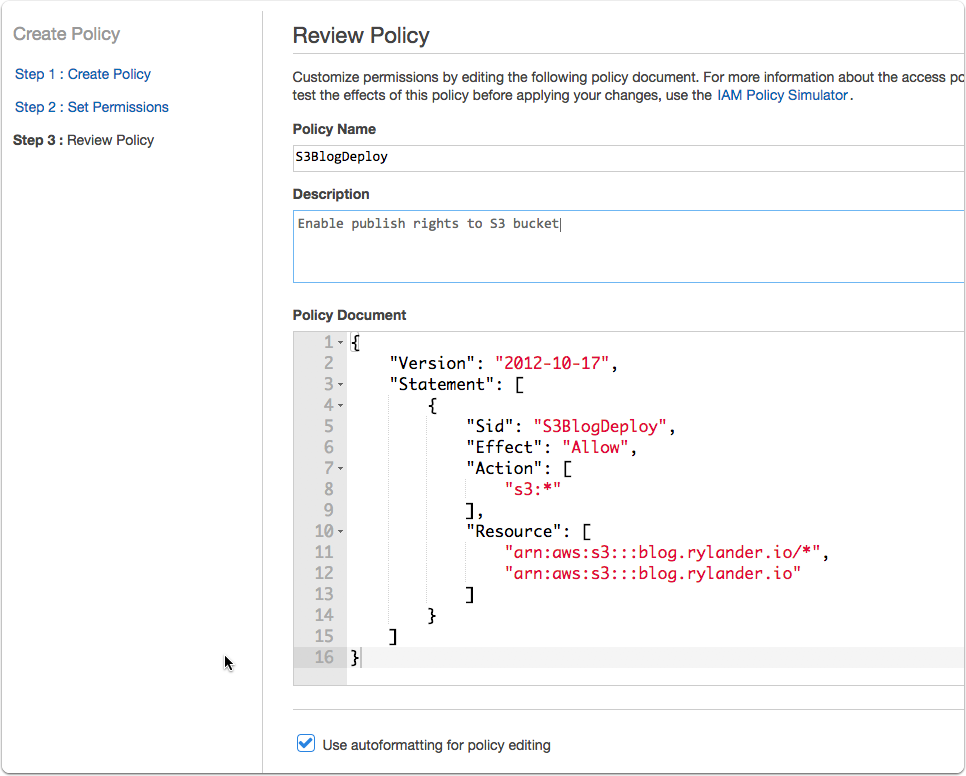
Create new IAM Policy
{
“Version”: “2012-10-17”,
“Statement”: [
{
“Sid”: “S3BlogDeploy”,
“Effect”: “Allow”,
“Action”: [
“s3:“
],
“Resource”: [
“arn:aws:s3:::blog.rylander.io/“,
“arn:aws:s3:::blog.rylander.io”
]
}
]
}
The Sid field is an arbitrary string (no whitespaces) to name the policy. The Resource field lists all things this policy can act upon; it’s important to list both the contents of the bucket (arn:aws:s3:::example.com/*) as well as the top-level of the bucket itself (arn:aws:s3:::example.com). Without both, hexo deploy won’t be able to function.
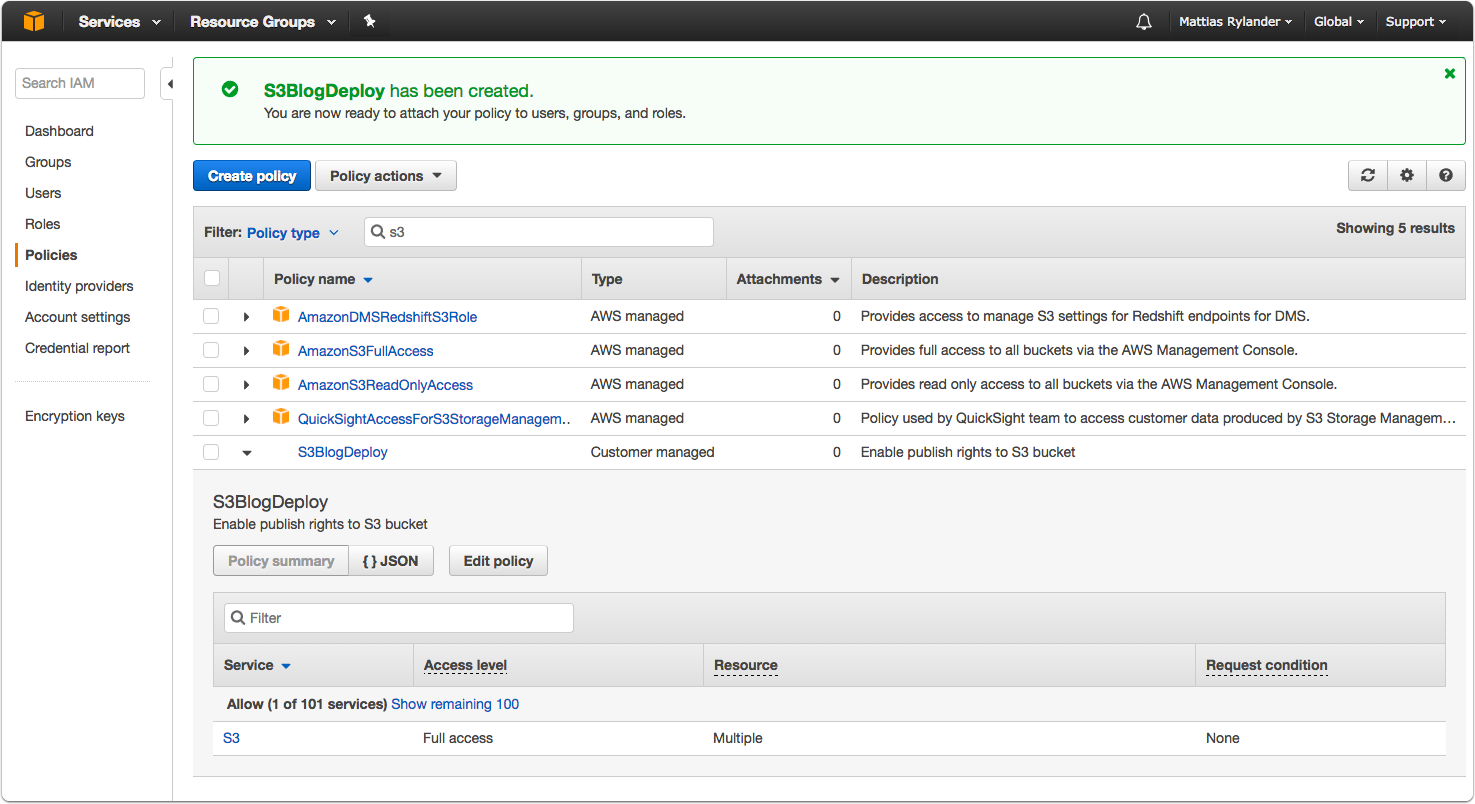
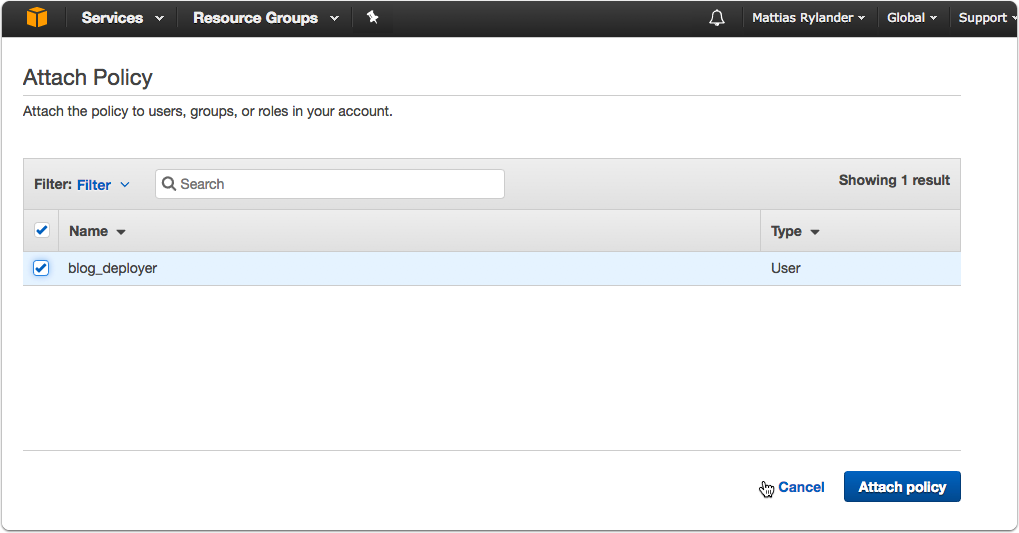
Attach Policy to IAM User Account
Once the policy is made, select it (from IAM‘s Policies sidebar) and click the Attached Entities tab. Hit Attach, then pick your user from the list of IAM users.


Verify access to S3 bucket
http://blog.rylander.io.s3-website.eu-central-1.amazonaws.com
Make sure to verify the serving of folders as well, which depends on the bucket configuration made earlier.
Reconfigure Cloudflare DNS
When hosting on DigitalOcean, I had CloudFlare point to an actual IP but for AWS S3 I need to switch to CNAME. The CNAME must reflect the bucket name, as per AWS guidelines as the routing in AWS relies on the hostname. The Endpoint to use is displayed in the Management Console for the “Static website hosting” panel in the Bucket configuration.
https://blog.rylander.io (the http-https redirection is configured using CloudFlare in my case).

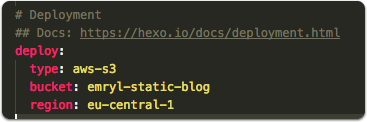
Hexo deployment config
npm install hexo-deployer-aws-s3 --save |
Specify the plugin, bucket and region in site _config.yml.
Note the credentials are not stored inside the config file.
Install the AWS javascript SDK for node
http://docs.aws.amazon.com/sdk-for-javascript/v2/developer-guide/getting-started-nodejs.html
http://docs.aws.amazon.com/sdk-for-javascript/v2/developer-guide/installing-jssdk.html
npm install aws-sdk --save |
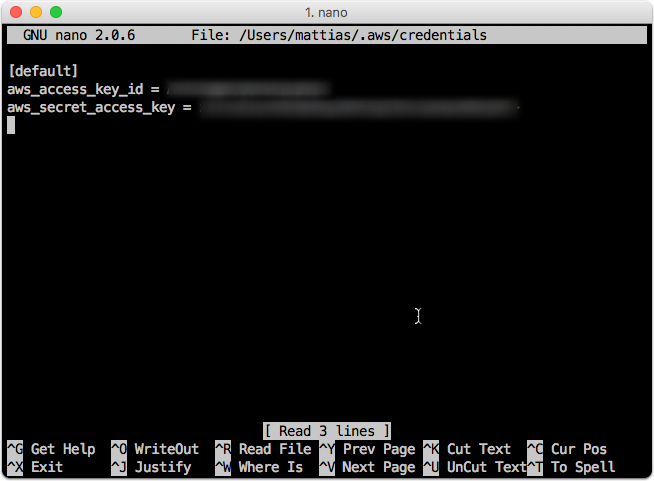
Edit the configuration for the AWS SDK
nano ~/.aws/credentials |
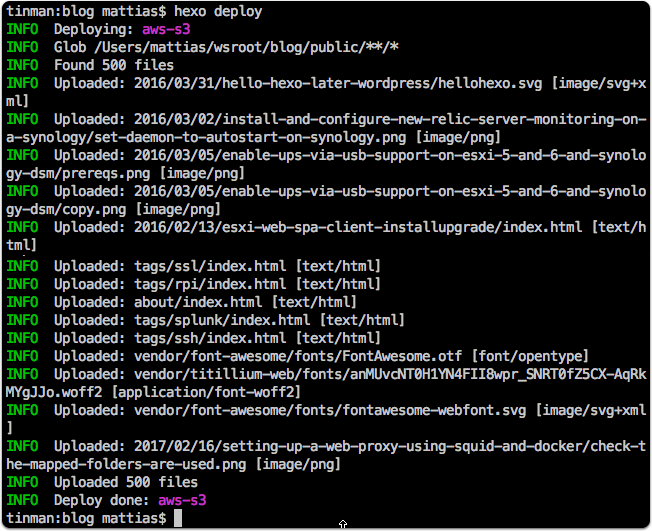
Deploy to AWS S3
hexo deploy |