So you’ve been secretly oogling the shiny USG device and the been frustrated with the Controller software and blank graphics like me? I can verify that the migration process is quite straight forward, with some manual lifting involved.
The process is like this:
- Dump you existing ERL configuration to a textfile, save it on your computer and never touch the ERL again.
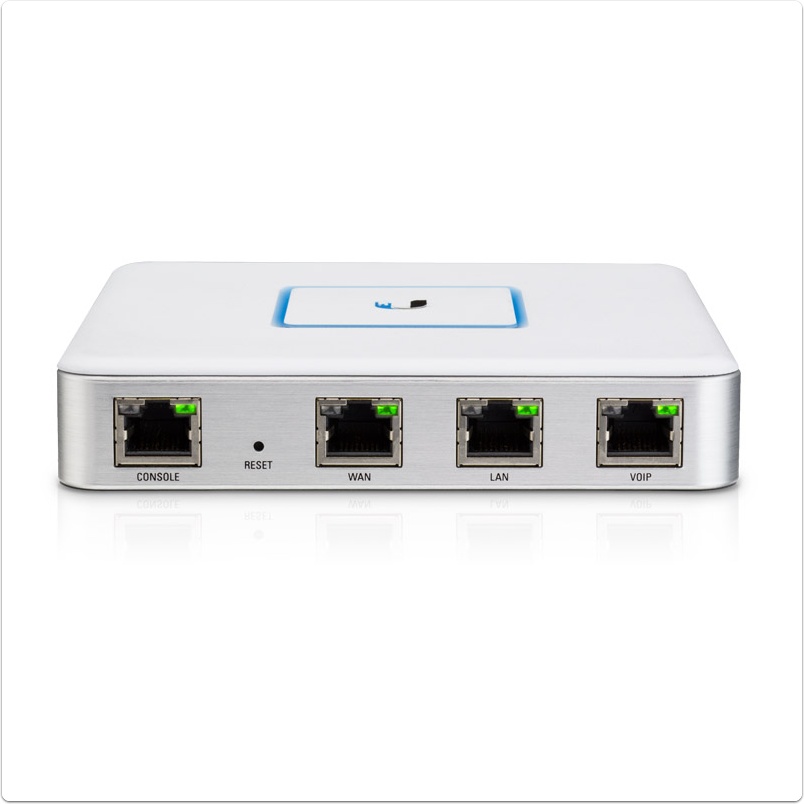
- Hook up your new USG to your computer via the LAN port.
- Move your new configuration over to the new device, such as external WAN ip settings and local LAN settings, including DHCP static leases etc. You need to also delete any existing conflicting settings, or the new/changed settings won’t take.
- commit, save, and reboot
- specify the unifi controller adoption url if neccessary and discover and adopt the new device via the controller software
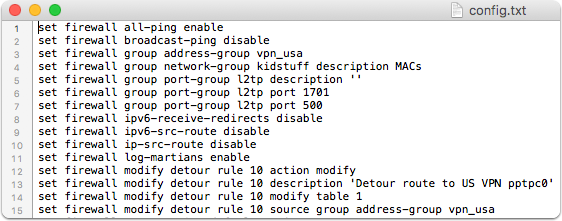
Dump existing ERL configuration to a text file
admin@erl:~$ show configuration commands > config.txt |
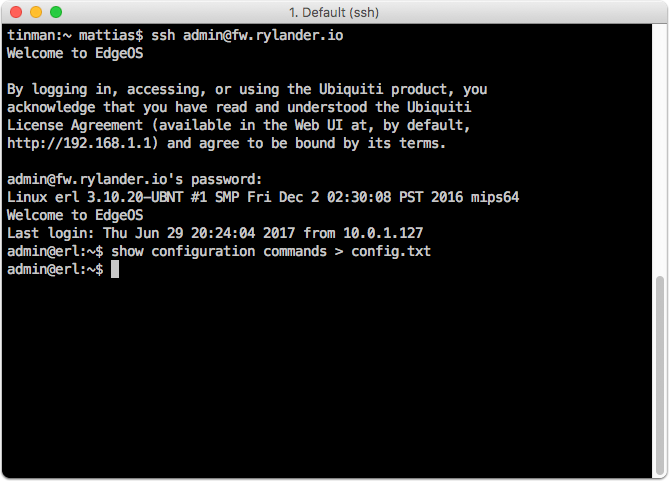
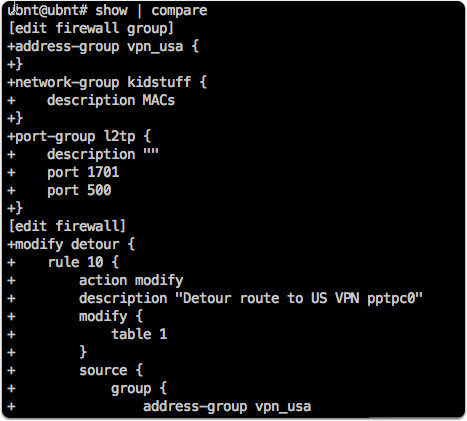
The commands are ready to be copy & pasted into your new device. As the device is preconfigured with some conflicting settings, it is not possible to run this as a script, as you must delete existing settings before committing.
Connect new device to local computer
Attach your local computer to the LAN port on the USG. The USG will serve out DHCP address in the 192.168.1.1/24 range and the router default adress is 192.168.1.1.

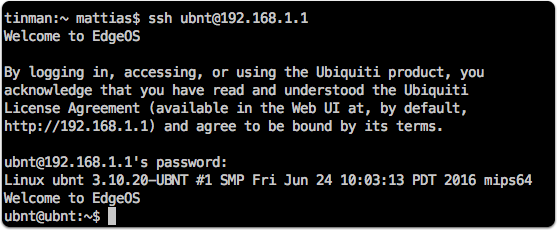
Login
Login using default settings ubnt/ubnt
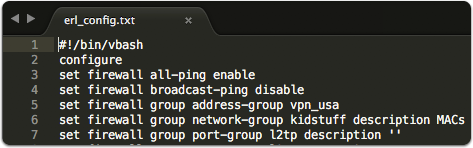
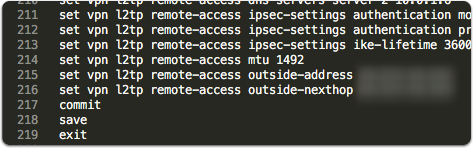
Script settings
You could script settings (which I tried at first) but since existing configuration clashes with the new updated ones, you would first need to prep the script with delete commands. This would be usable if I had many devices but since I only have one, its easier to copy paste relevant lines directly.
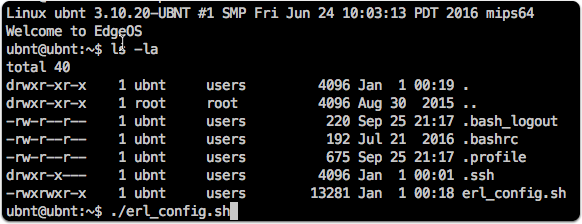
chmod +x erl_config.sh
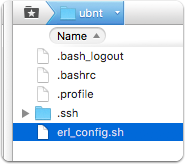
When you execute, the script will fail to commit due to conflicting changes.
Some settings will take though
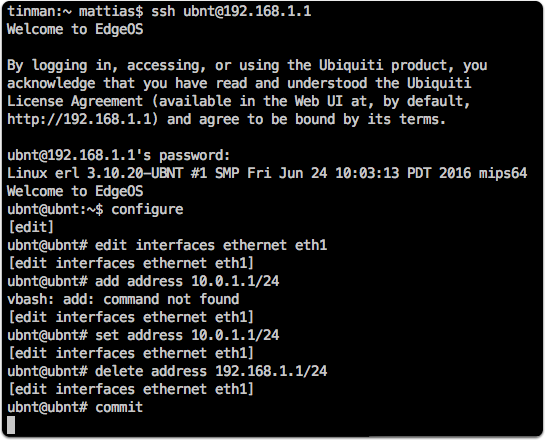
Set static LAN ip address
The LAN port is given a static ip.
configure |
You will loose connectivity at this point. Do not reboot the device as the settings will not survive until you save.
Update your local computer IP settings to match your new LAN network.
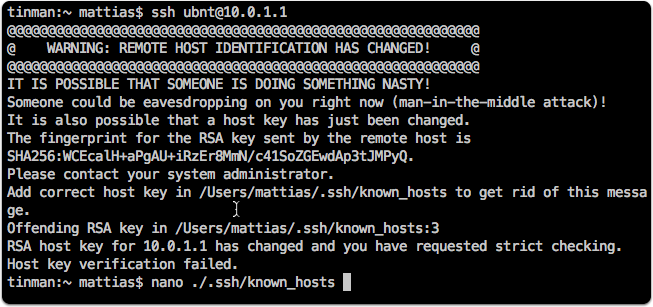
Update known_hosts
If you like me replace an existing device, chances are you need to update the SSH configuration.
nano ~/.ssh/known_hosts |
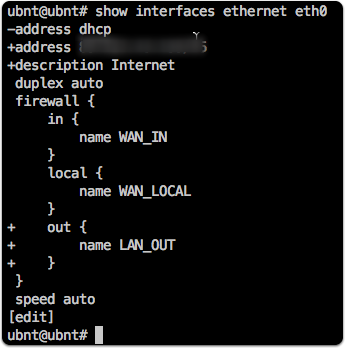
Set WAN configuration
configure |

show interfaces ethernet eth0 |
show service dhcp-server
delete service dhcp-server
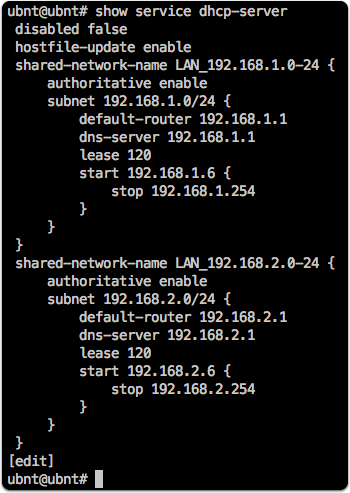
set service dhcp-server shared-network-name LAN1 authoritative disable |
Adopt the USG to the controller
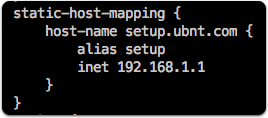
Since my internal DNS isn’t used by the router, I need to map a hostname to an ip. The default mapping can be removed.
edit system static-host-mapping |
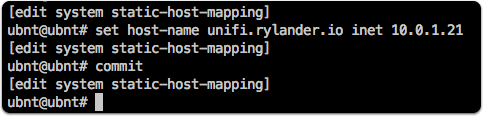
Set local host mapping
set host-name unifi.rylander.io inet 10.0.1.21 |
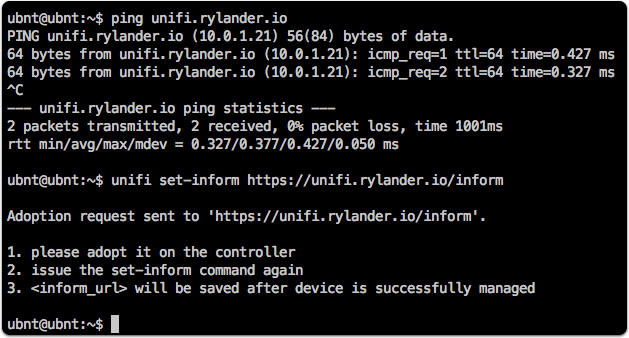
Verify connection to controller and initiate adoption
ping unifi.rylander.io |
If the controller can’t find the USG device you can inform the controller by setting the inform url.
unifi set-inform [http://unifi.rylander.io:18080/inform](http://unifi.rylander.io:18080/inform) |
As I had forgot to port forward the adoption port from my dockerized controller, this step was a bit frustrating at first. Note the screenshot is misleading as a result. I ended up forwarding the dockerized controller port 8080 to the Synology host port 18080 (and remembering why I didn’t forward port 8080 directly).
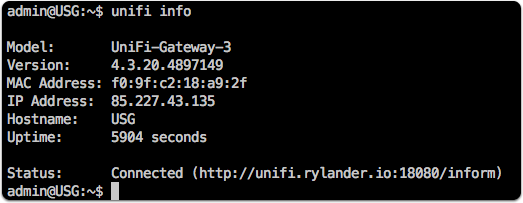
Check status
unifi info |
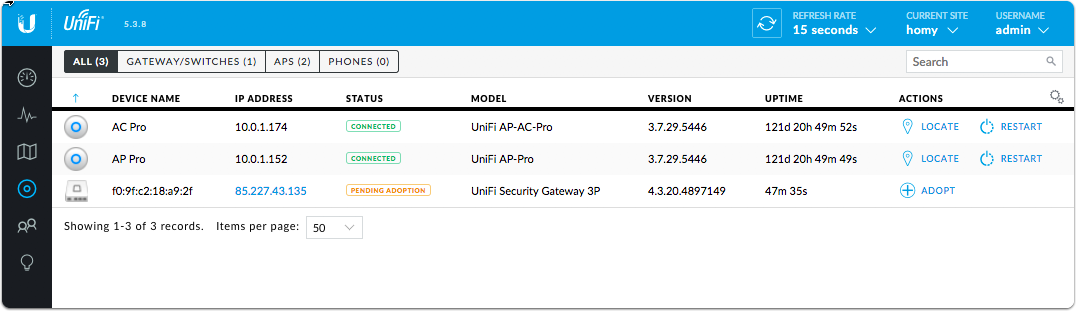
Pending adoption
Remember to actually click the “Adopt” link in the controller UI.
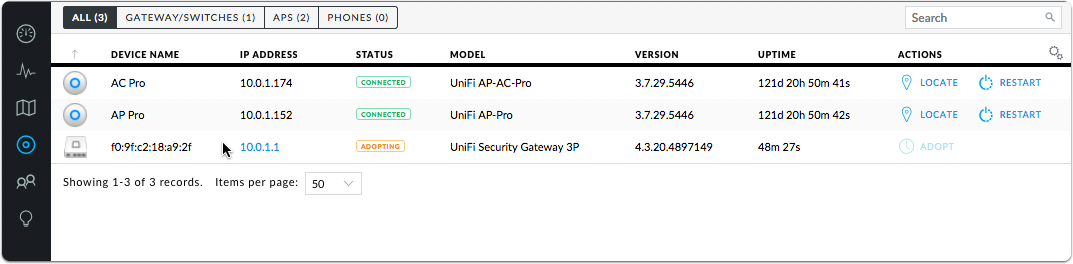
Then you also need to go back to the SSH session and reissue the command to make it stick.
Adopting
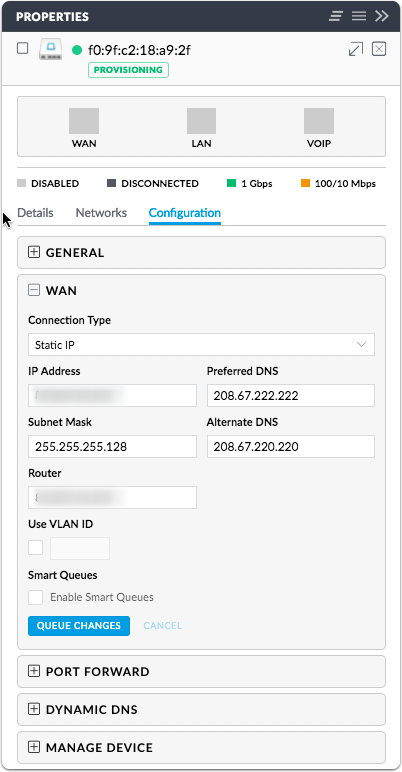
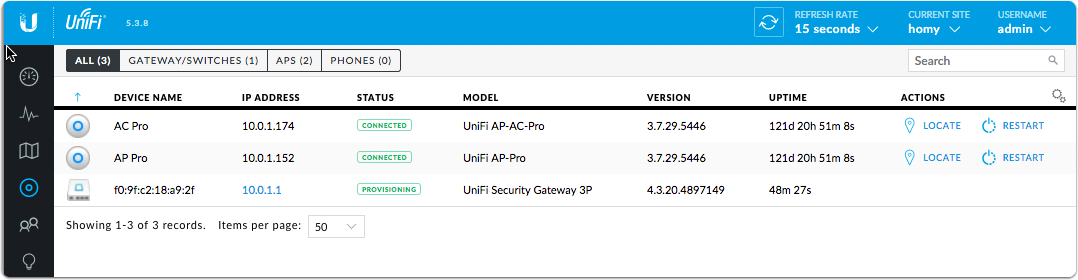
Provisioning
Verify settings
The controller will preserve existing settings